Connect & Manage Your SendGrid Email
Use your SendGrid email address to send emails from Postsale.
Keep your customers in the loop with customized emails that build trust and loyalty. With Postsale, you can send emails using Postsale's built-in email functionality and templates. You can also connect your SendGrid account and/or email account via SMTP to use your own email addresses and personalized, branded templates.
In this article, we'll focus on how to add your SendGrid account to Postsale.
Before We Begin
- Integrating SendGrid is a premium feature requiring a Thrive or Soar billing plan. Learn more about managing your Postsale account in our Frequently Asked Questions.
- To add SendGrid you will need:
- Access to your SendGrid account
- The email address you wish to add
- Your SendGrid API Key
Connect Your SendGrid Account
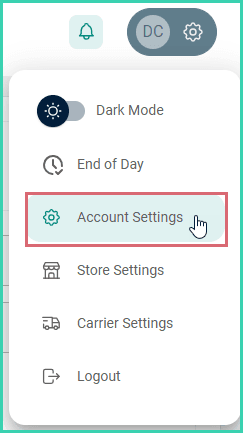
Go to Settings.

Select Account Settings.
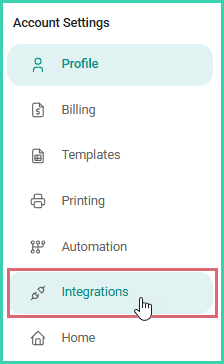
Select Integrations from the left-side menu.
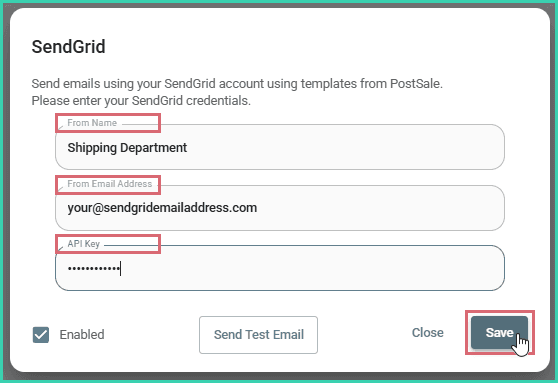
Select SendGrid.

Enter the following information. Then, click Save.
- From Name
- From Email Address
- API Key
(Optional) Click the Send Test Email button to test your SendGrid setup. A test email will be sent to the SendGrid email address you entered in the From Email Address field in step 5.
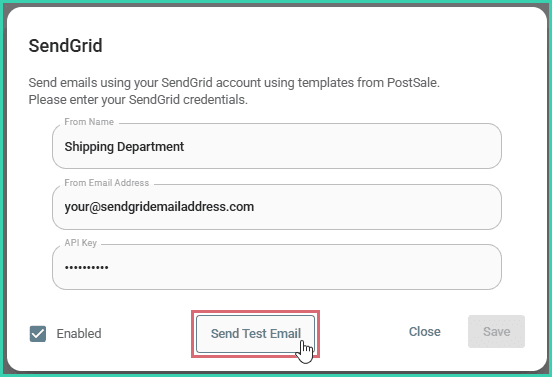
You will be notified whether the email was sent successfully or failed to send.
Click Close. Your SendGrid email address has been added to Postsale and is indicated with a green checkmark in the SendGrid tile.

Manage Your Email Account Settings
Need to update your SendGrid email account settings? Here's how:
Go to Settings.
Select Account Settings.
Select Integrations from the left-side menu.
Select SendGrid.
Update the From Name, From Email Address, and/or API Key. Then, click Save.
On this page
Related