Shopify
Connect to & import orders from Shopify
Real-World Example
We have a Shopify storefront and would like to connect Postsale so that we can import our orders and manage our shipping and post-sale tasks. We would like to import orders that have already been placed and have any newly placed orders automatically import into Postsale.
You can do that! In addition, when you create a shipping label in Postsale the shipment information is sent back to Shopify and the order's status is automatically updated for you.
This article will walk you through connecting your Shopify store to Postsale.
Before We Begin
- Connecting your Shopify store to Postsale requires that you are on the Shopify Grow, Advanced or, Plus plan.
- You'll need to perform a few setup steps in your Shopify admin. Be sure to have your Shopify admin username and password available.
This article will guide you through:
- Locating your Shopify Store URL
- Generating a Shopify Access Token which allows you to connect Shopify with Postsale
Note: We understand that setting up your Shopify store involves several steps. That's why we're here to help. Please contact us if you'd like assistance with the initial setup of your Shopify store and we'll be happy to walk you through it.
Connect Postsale to Shopify
Quick Tip Video
We also have a Quick Tip video that guides you through the steps in this help article.
-
Go to Settings.
-
Select Store Settings.
-
Select Shopify.
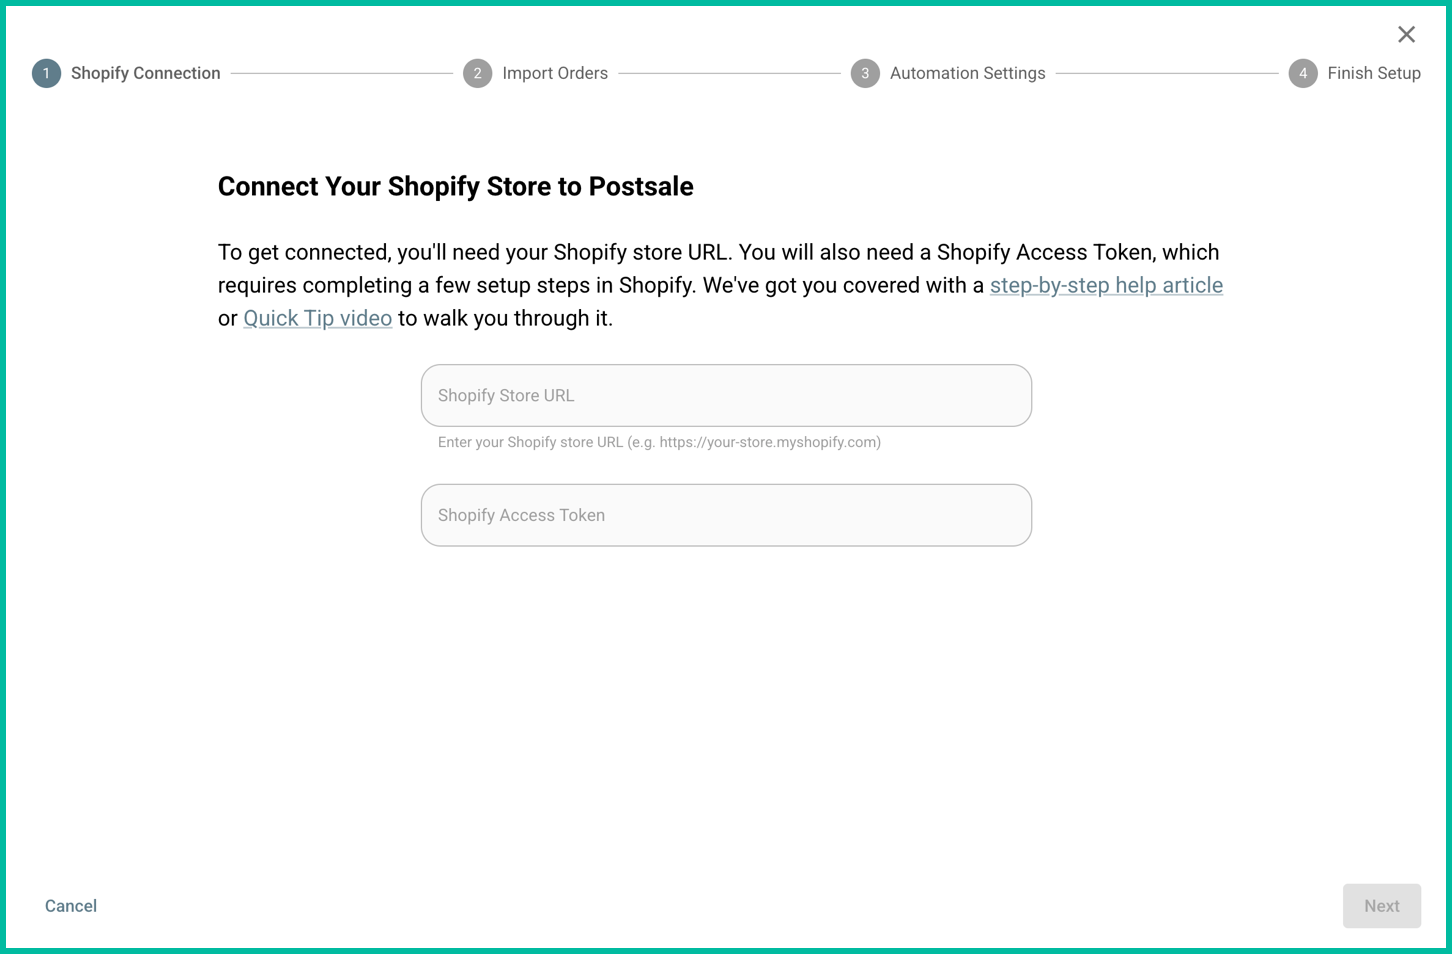
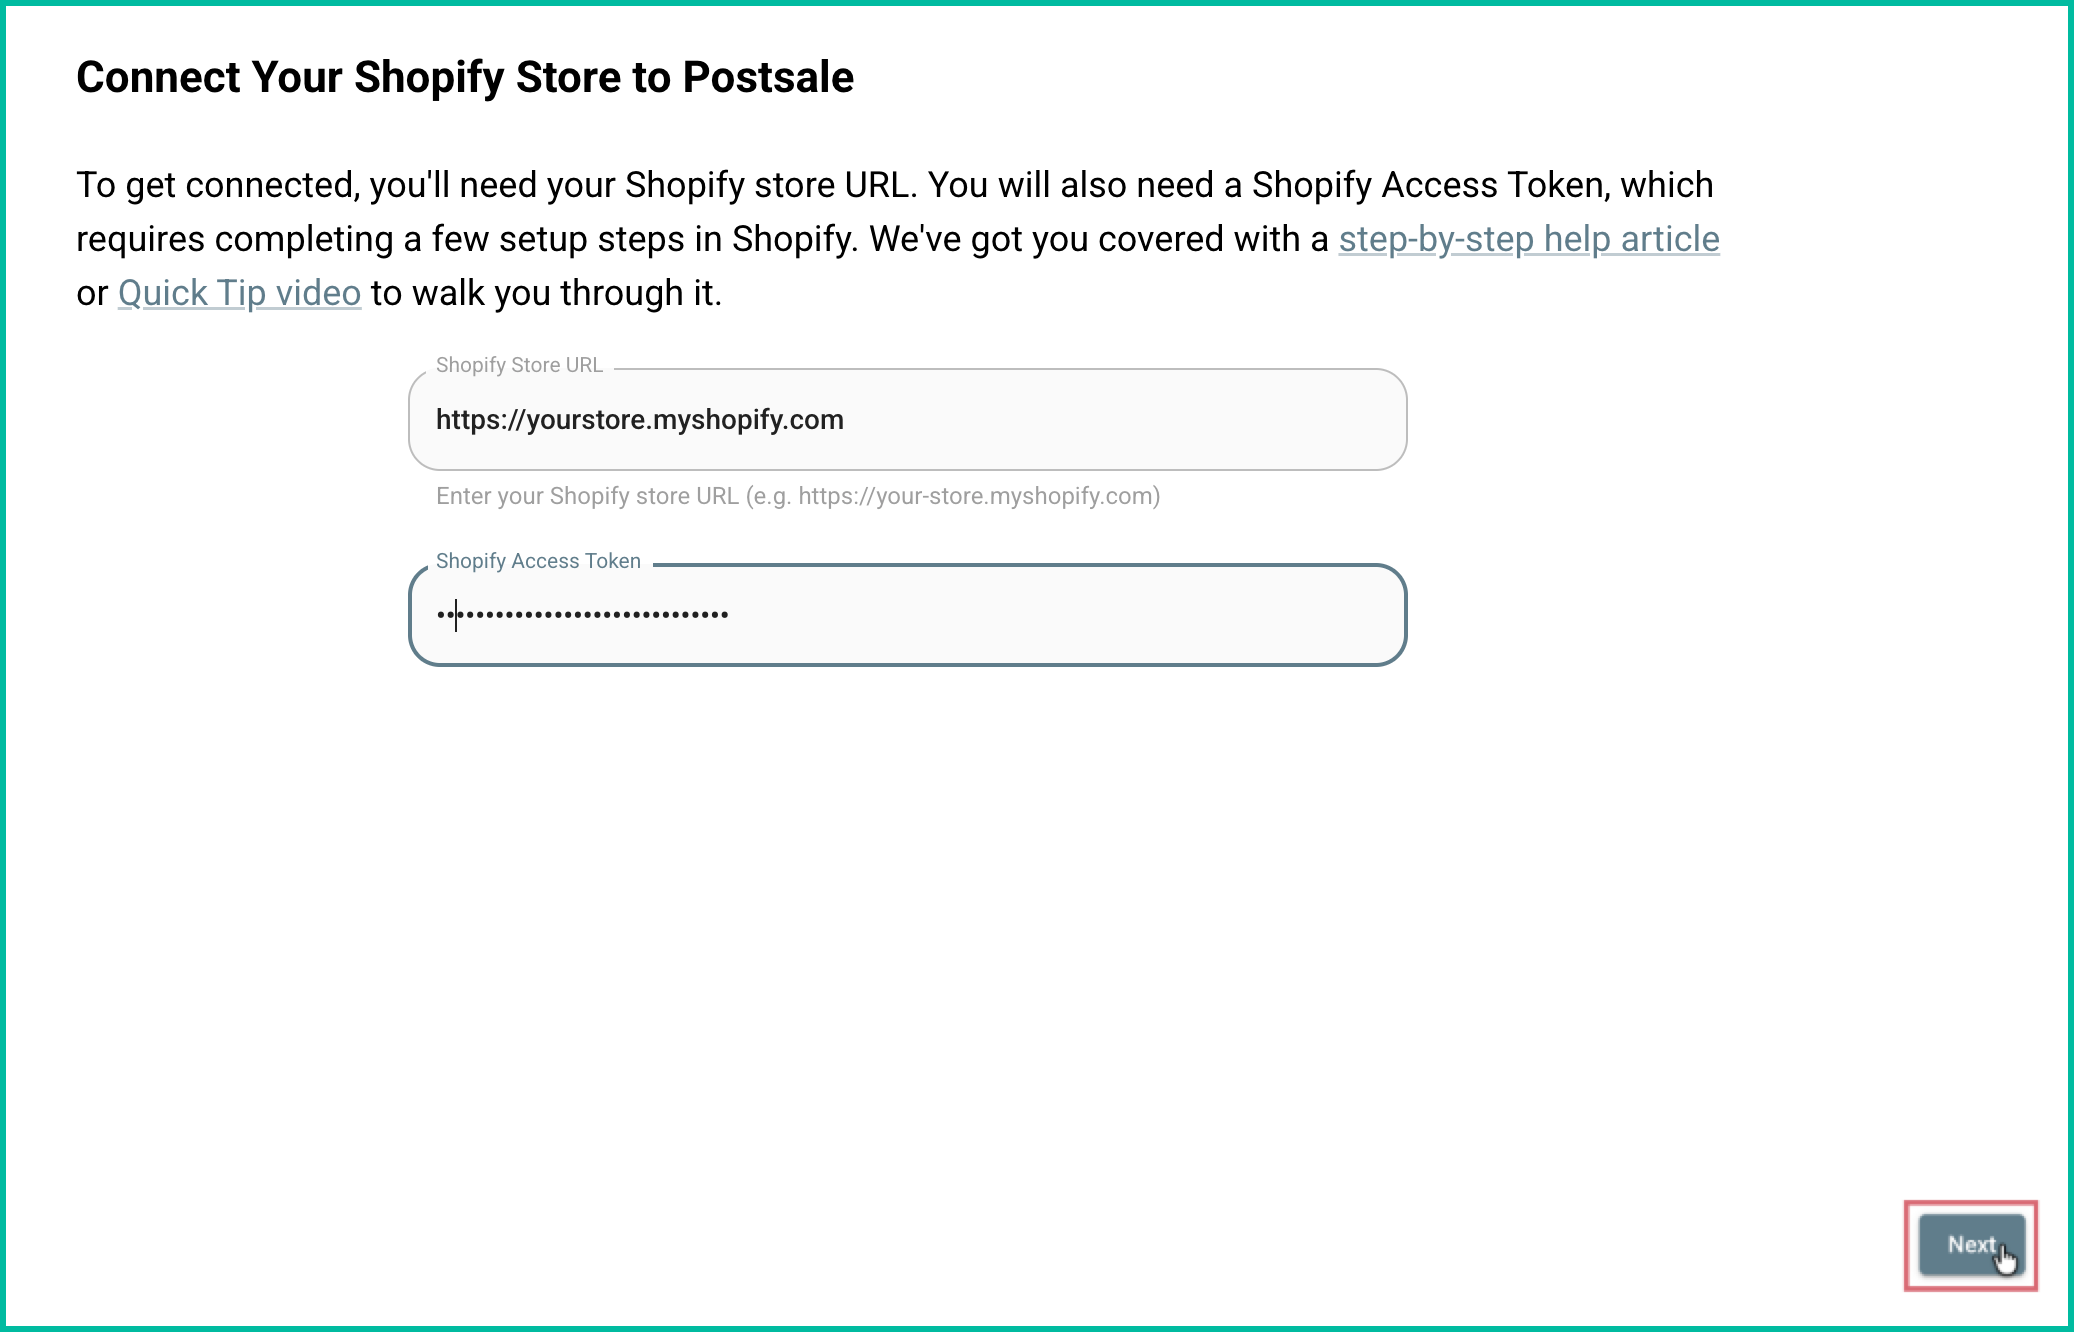
The Shopify setup screen will open.
1 - Locate Your Shopify Store URL
You'll need to locate your Shopify store URL and enter it into Postsale. Here's how:
-
Open a new web browser window and log into your Shopify store admin.
-
Go to Settings.
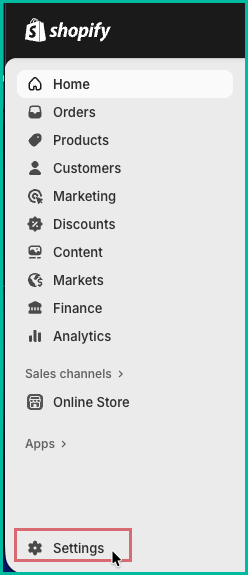
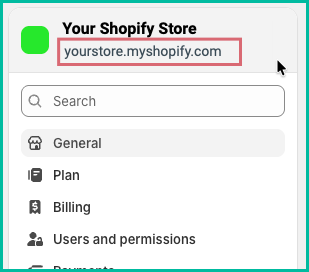
Your store URL is displayed above the Shopify navigation menu.
-
Copy your Shopify store URL. Then, switch to Postsale and paste it into the Shopify Store URL field.
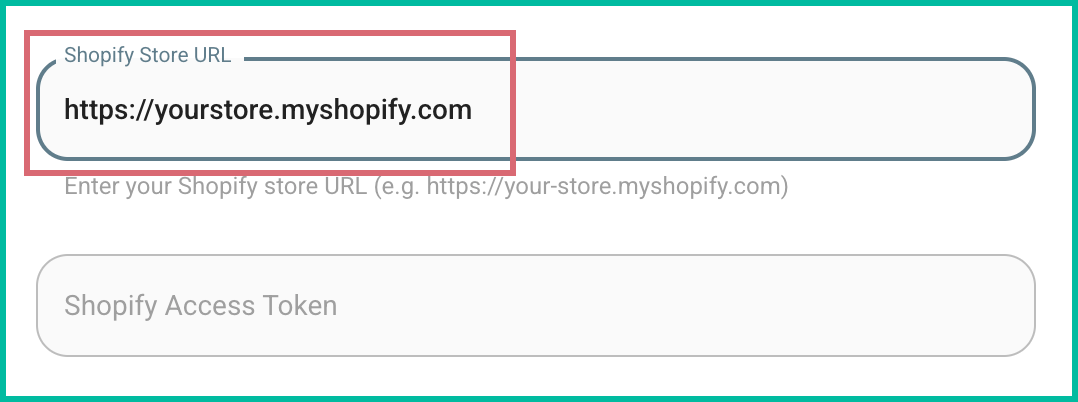
2 - Create the Shopify Access Token
Next, you'll create an access token by adding an app in Shopify. Setting up the app gives Postsale the permissions it needs to connect to and access your Shopify orders. Here's how:
Add the App
-
Switch back to your Shopify admin.
-
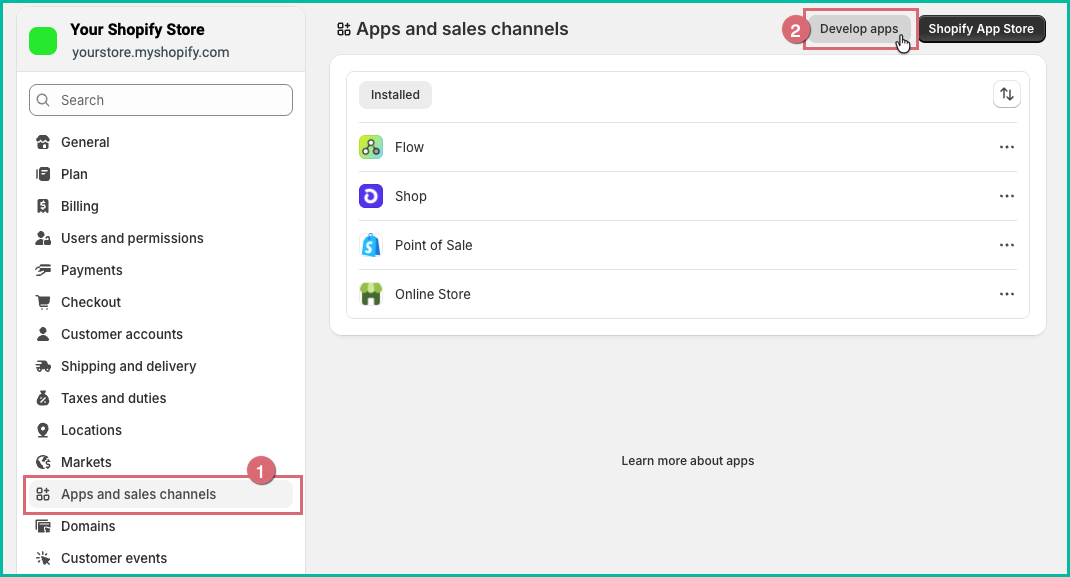
Go to Apps and sales channels. Then, click the Develop Apps button.
-
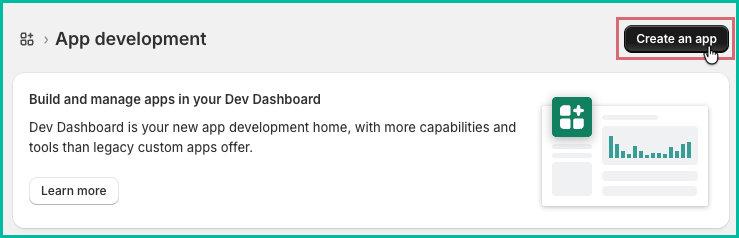
Click Create an app.
-
Enter a name for your app into the App name field, select the correct App developer from the drop-down menu, and click Create app. The app name can be whatever you wish. We suggest a name that is easily identifiable, like Postsale App.
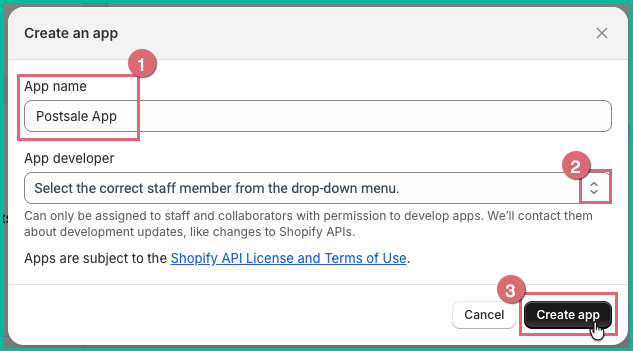
The new app is added and you are taken to the app's setup screen in Shopify.
Configure Admin API Scopes
Now, you'll configure the app's admin scopes. Think of configuring scopes as setting the correct permissions to allow Postsale to access your Shopify orders.
-
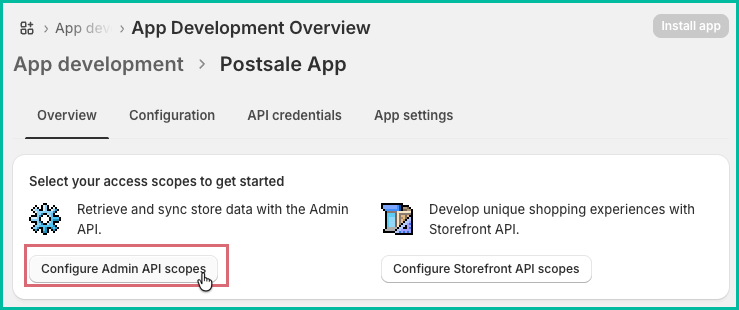
Select Configure Admin API Scopes.
-
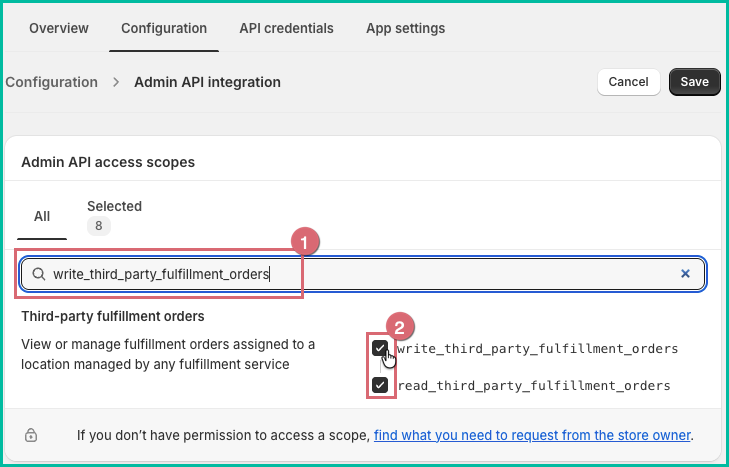
Ensure that the following scopes are enabled by checking the box next to each scope in Shopify. Hint: Quickly locate each scope by copying the name of each scope below into the search field in Shopify.
- read_orders
- read_products
- write_assigned_fulfillment_orders
- read_assigned_fulfillment_orders
- write_merchant_managed_fulfillment_orders
- read_merchant_managed_fulfillment_orders
- write_third_party_fulfillment_orders
- read_third_party_fulfillment_orders
-
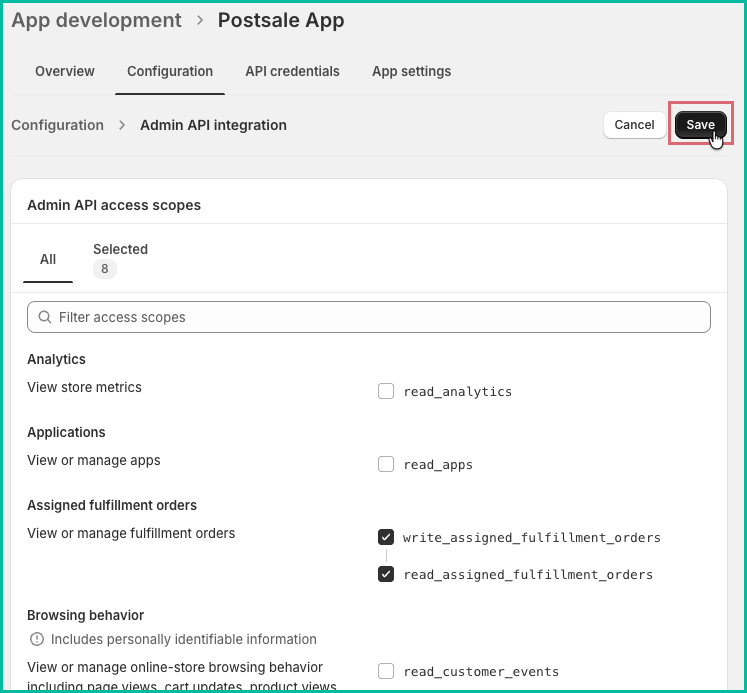
Click Save.
Copy the Shopify Access Token
-
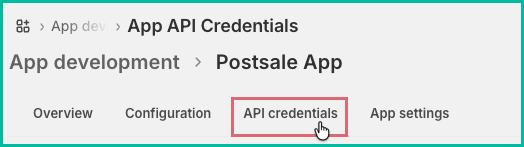
In Shopify, select API credentials.
-
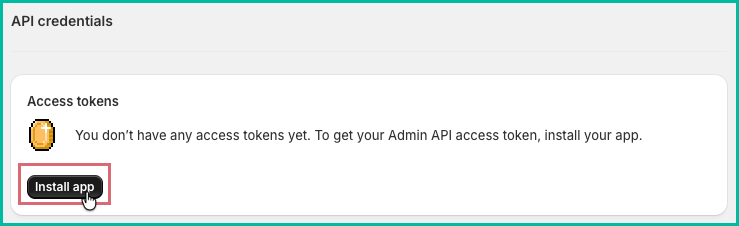
Click the Install app button in the Access tokens section.
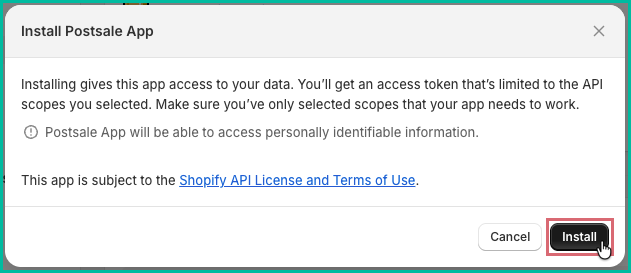
You'll be prompted to confirm the installation. Click Install.
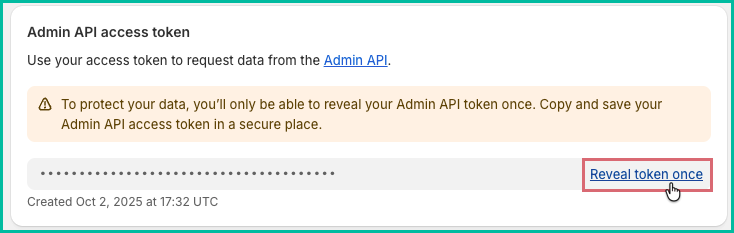
A new Admin API token is added to the Admin API access token section.
-
Click the Reveal token once link in the Admin API access token section to access the new token.
Warning: To protect your data, you'll only be able to reveal your Admin API token once. We suggest that you copy and save your Admin API access token in a secure place for future reference.
-
Select and copy the access token. Then, switch to Postsale and paste the token into the Shopify Access Token field.
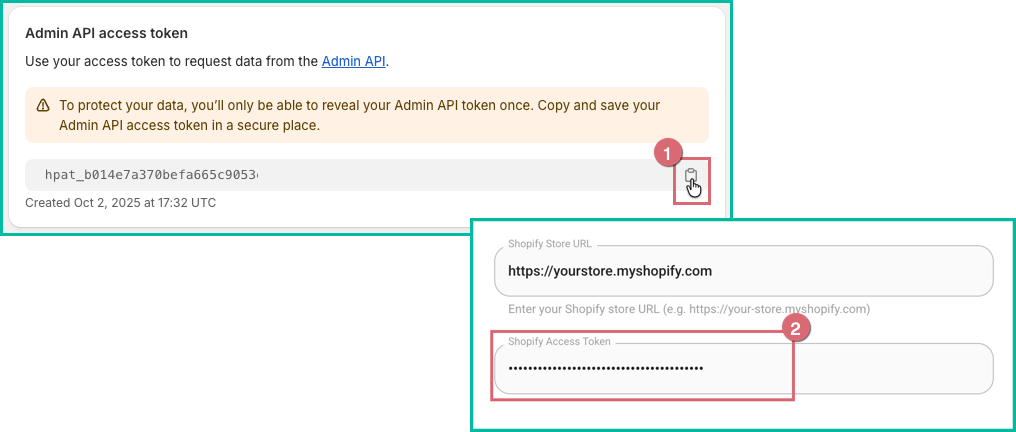
You are now ready to complete the Shopify setup in Postsale.
3 - Complete the Shopify Store Setup
If you haven't already done so, switch back to Postsale.
-
Click the Next button.
-
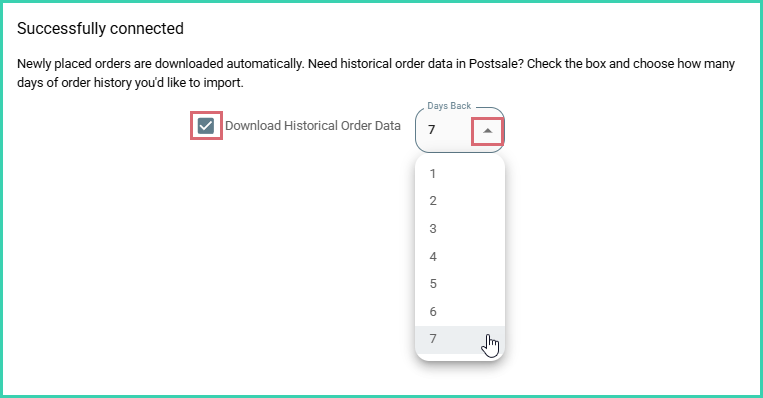
Select the number of days (1 - 7) of order history to import into Postsale from the Days Back drop-down menu. Then, click Next.
Uncheck the Download Historical Order Data checkbox if you do not wish to import any order history.
Warning: To prevent duplicate shipments, carefully review all order statuses shown in the Online Status column, as some orders may have already been shipped outside of Postsale.
-
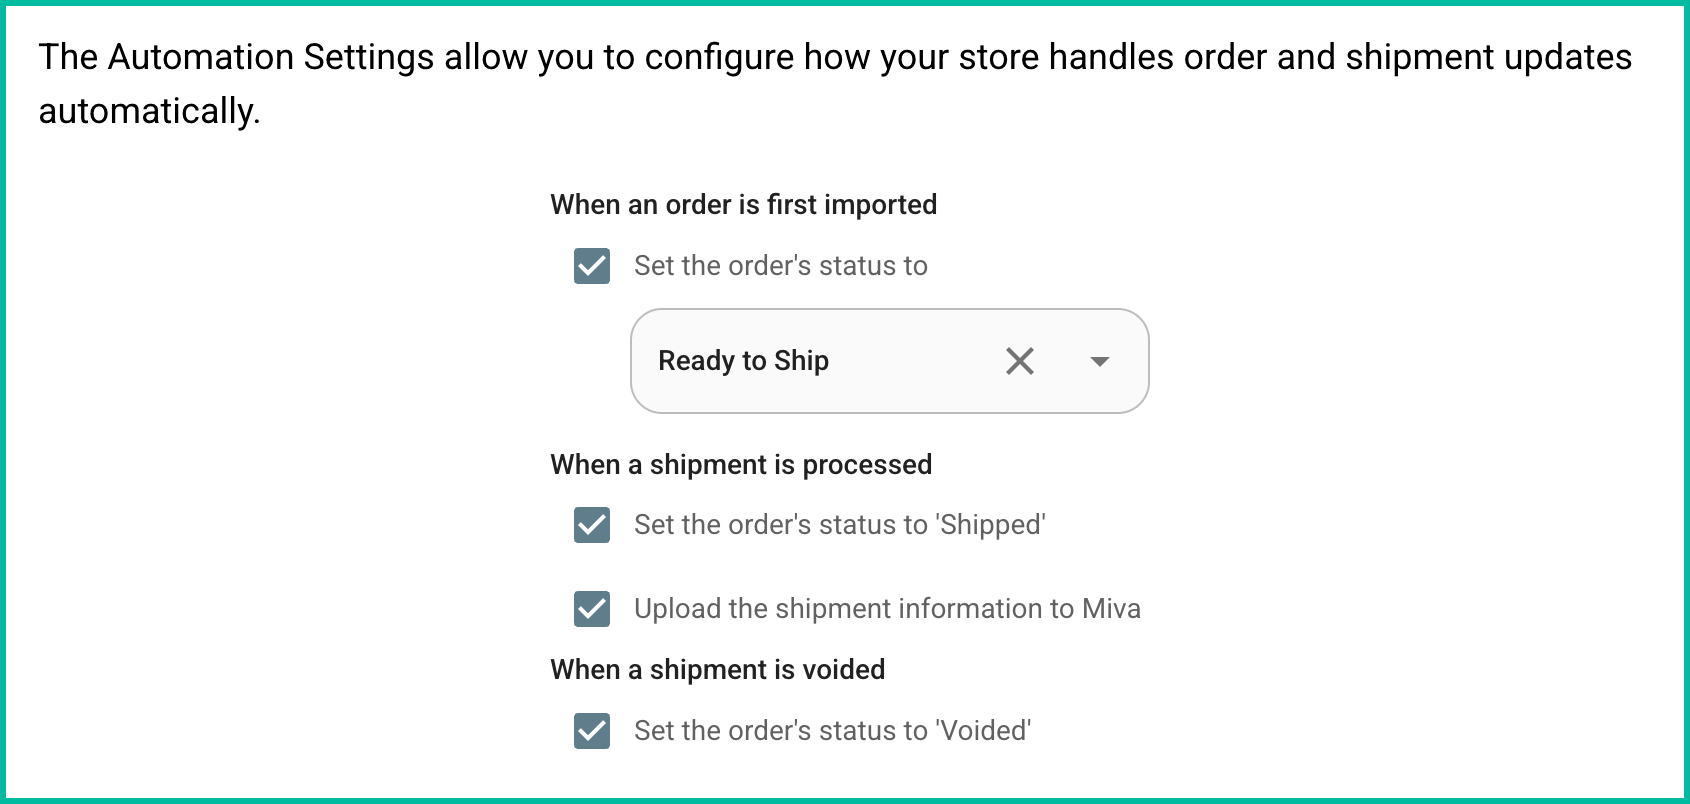
Verify that you wish for Postsale to perform the following actions automatically. Then, click Next.
- When an order is first imported
- Set the order's status to [select the status from the drop-down menu]
- Enable this option to specify what the local status of the order should be set to when orders are imported for the first time. With this option disabled, the order's local status will be blank when imported.
- When a shipment is processed
- Set the order's status to 'Shipped'
- Upload the shipment information to Shopify
- When a shipment is voided
- Set the order's status to 'Voided'
- When an order is first imported
-
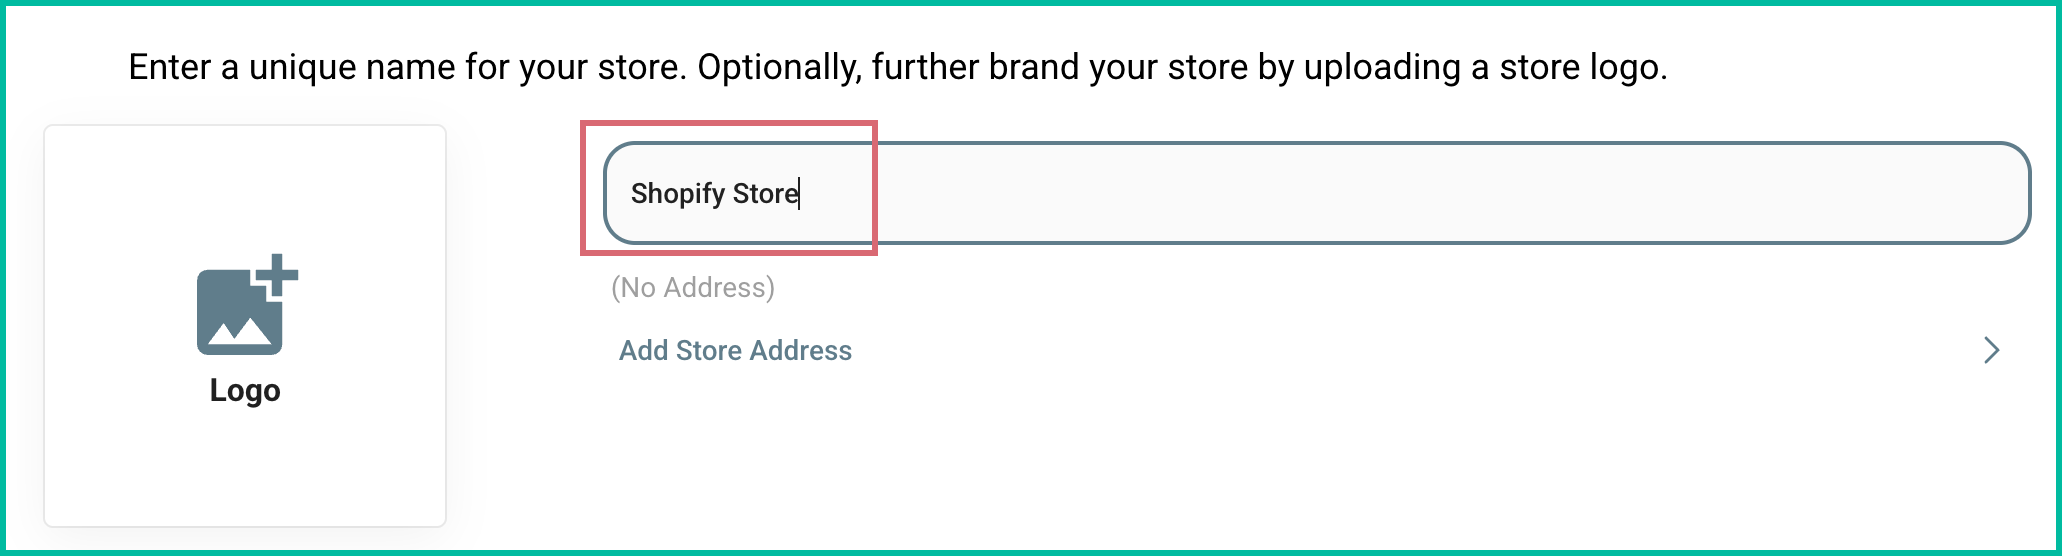
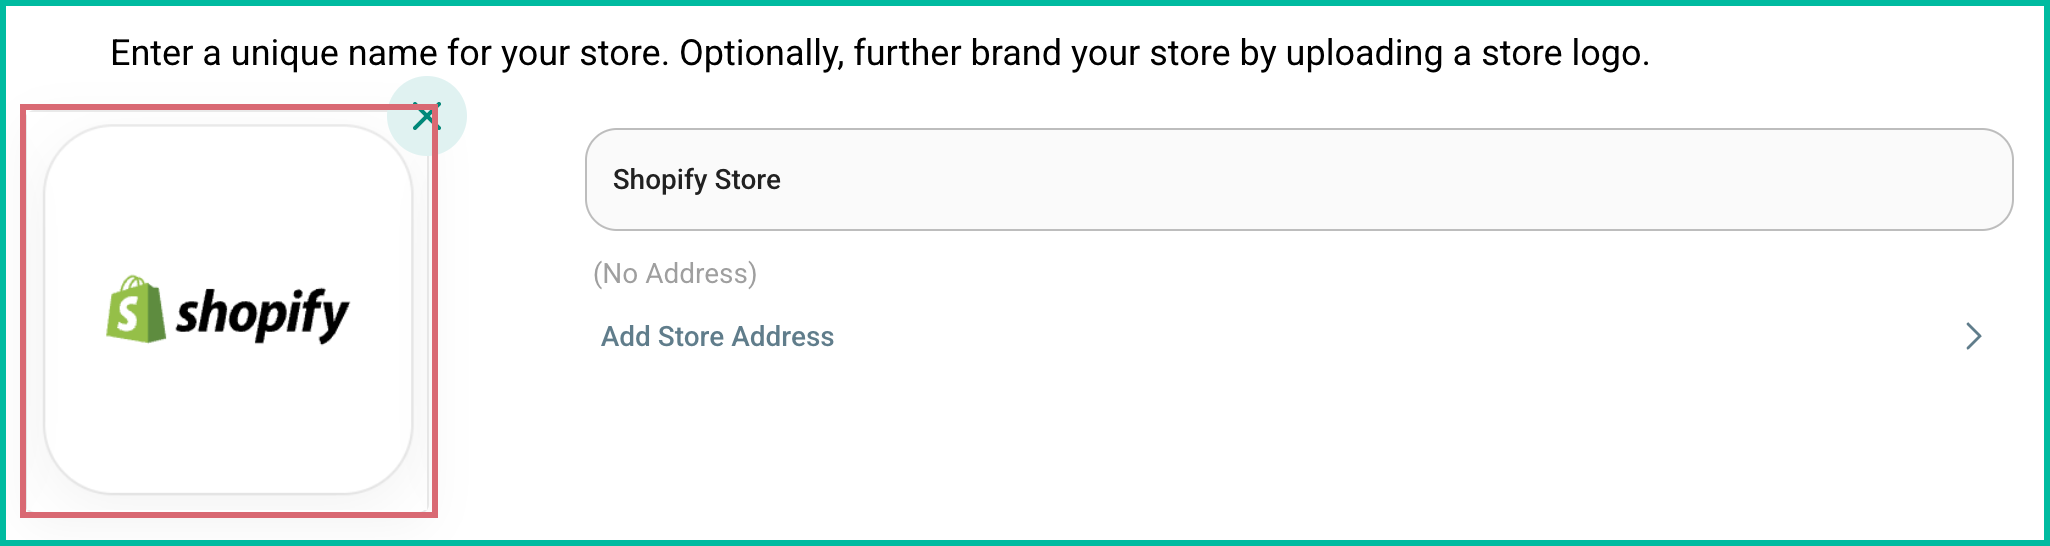
Enter a name for the store into the Store Name field.
- The store name you enter will be considered the Order Source in Postsale
- The store name will be displayed in the Source column on the Orders Grid
- Use the store name as the Order Source when creating Advanced Searches for orders associated with this store
-
(Optional) Click the Logo tile. Then, select an image file (png or jpg) from your computer.
- Postsale supports JPEG and PNG files with a recommended size of 3 MB or less.
- Larger image files will be reduced to the maximum file size of 3 megabytes when uploaded.
- The image will be uploaded and become the logo for this store.
- The logo will automatically display in Postsale templates that include a logo, such as the Invoice with Logo template.
- Learn about editing an image in Postsale
-
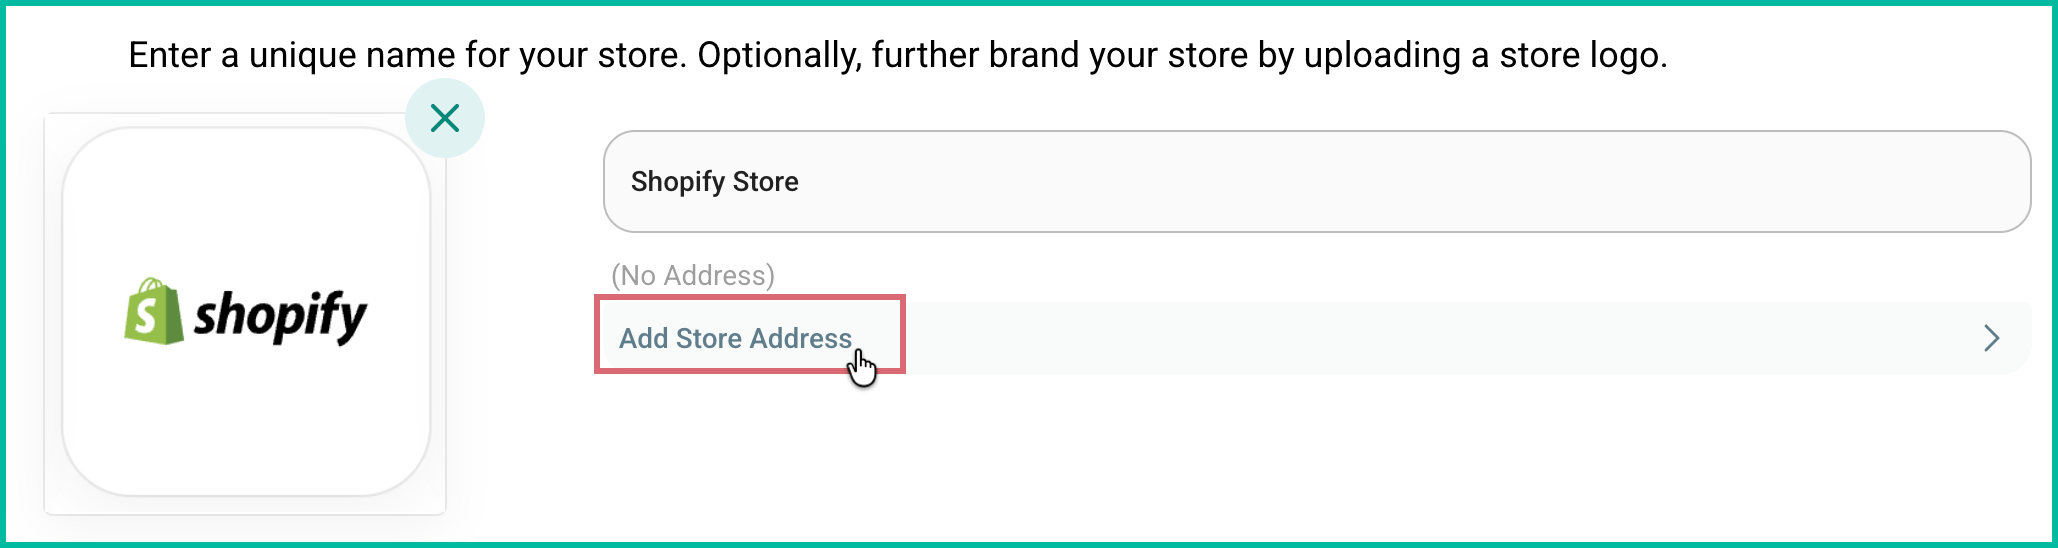
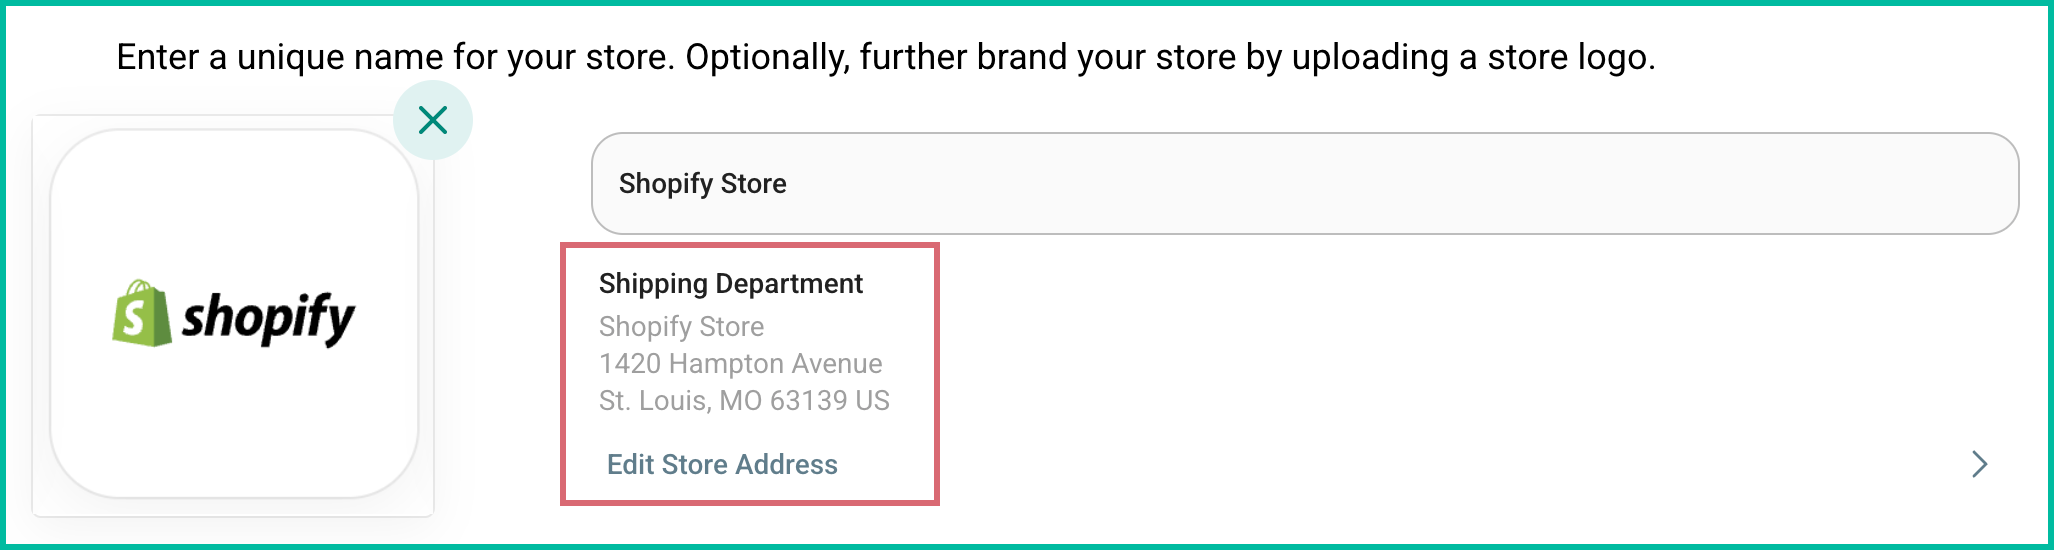
(Optional) Click Add Store Address to add a unique Ship From address from this store. Learn how to configure your Default Shipment settings so that the Store Address is automatically selected as the Ship From address for your shipments.
Once entered, the address is displayed.
-
Click Finish.
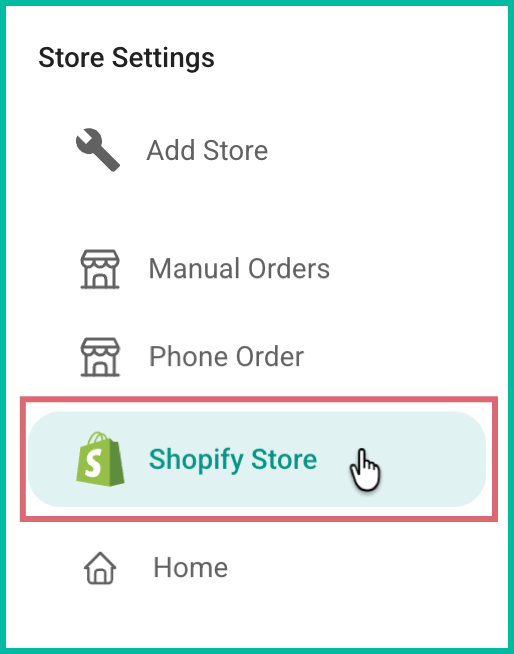
Your store is added and is displayed in the list of stores. Historical orders will be automatically imported into Postsale based on the number of days you selected.
Good To Know
When viewing Shopify order details in Postsale:
-
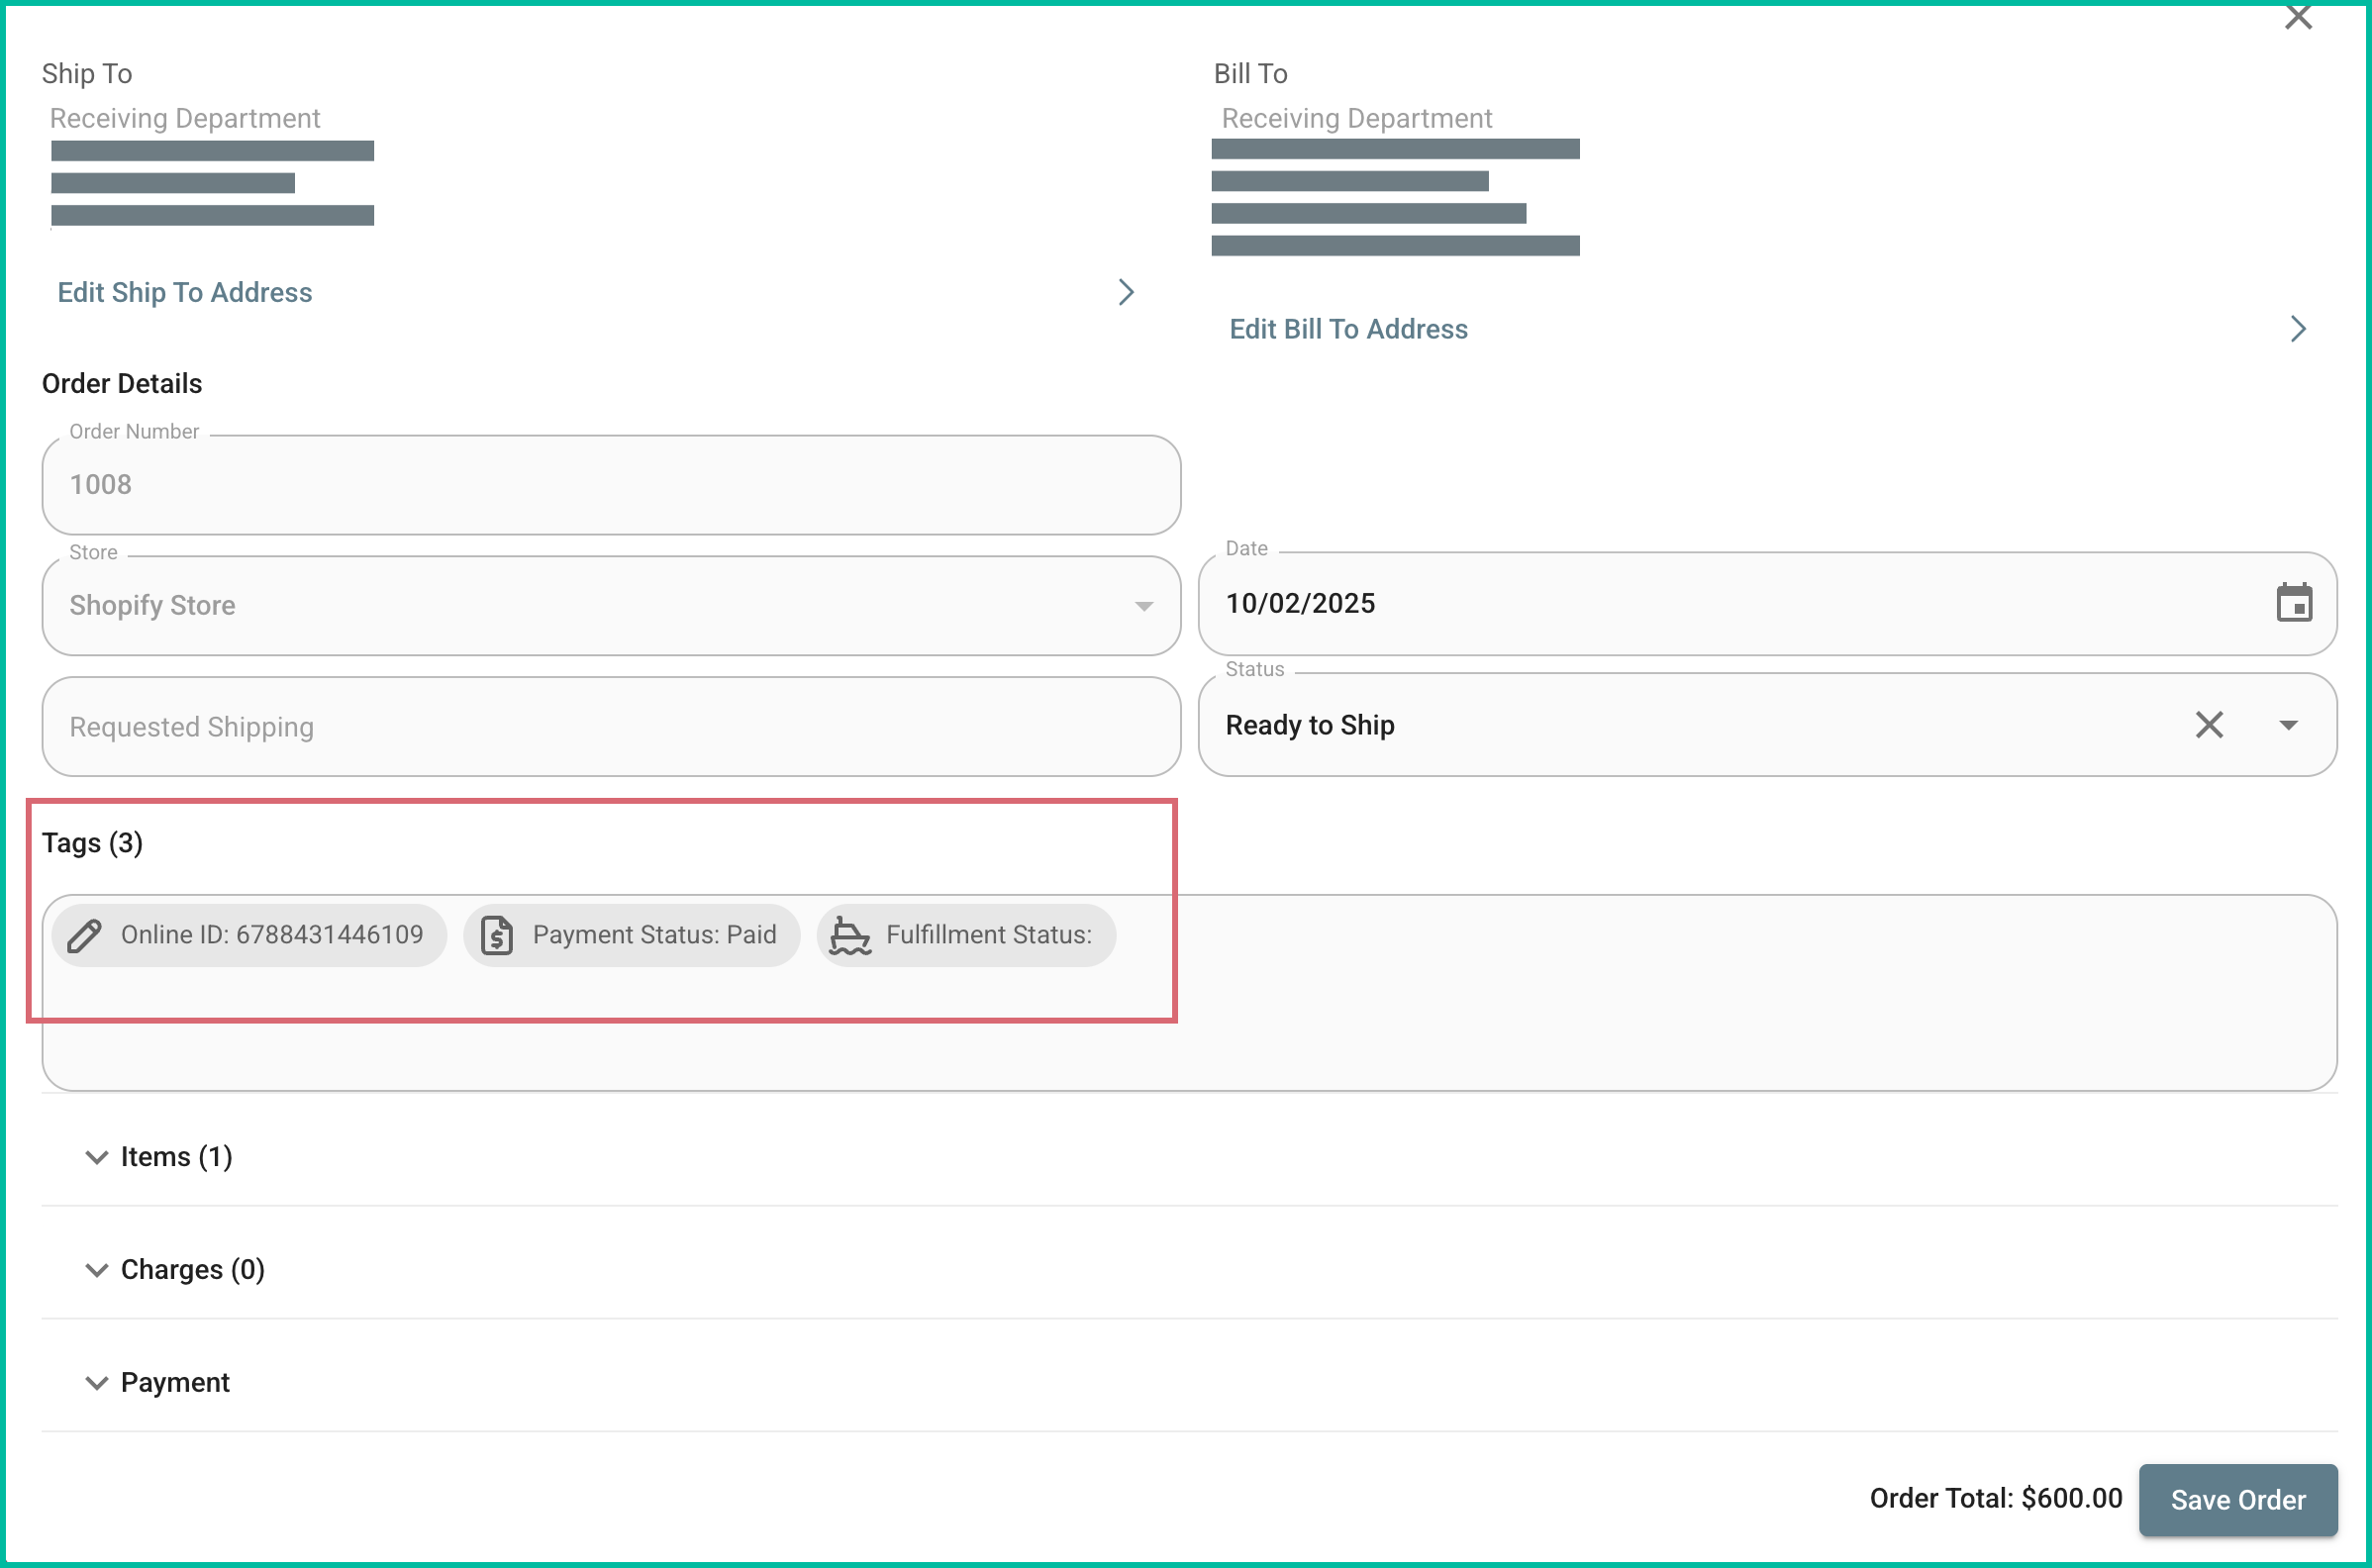
The following Shopify order information can be viewed in the Tags section of the Order Editor in Postsale.
- Shopify Online Order ID
- PO number
- Payment Status
- Fulfillment Status
-
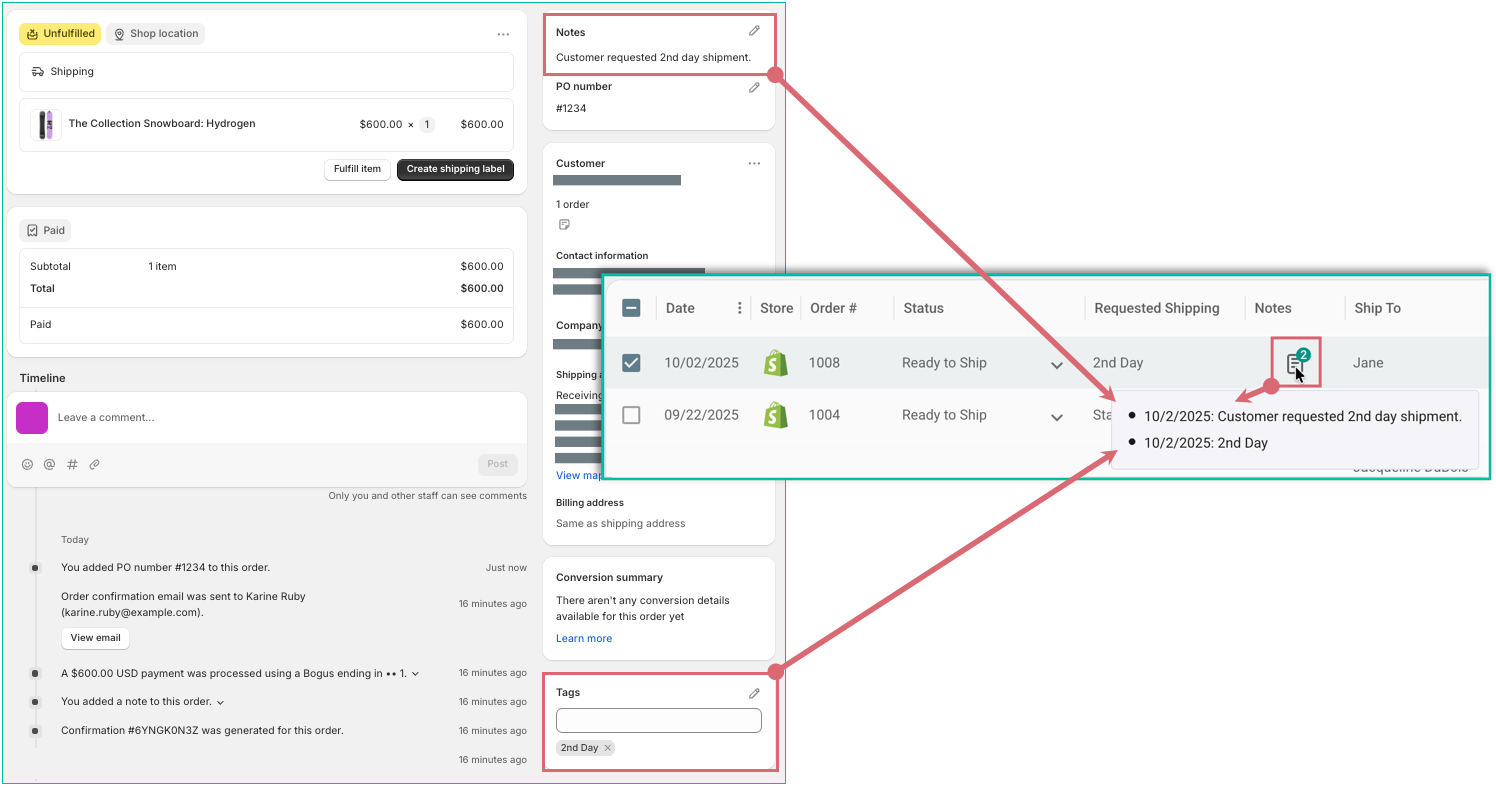
Notes and Tags associated with your orders in Shopify can be viewed as Notes in Postsale. Each Shopify note and tag will be listed as a separate Note in Postsale.
Postsale integrates with Shopify, WooCommerce, BigCommerce, Square, Miva, and eBay. See the integrations page for a complete overview, or visit pricing to get started.
Still have a question? Ask a person.
Write to support@postsale.com or send us a message. We reply the same business day, Monday to Friday, 8 AM to 5 PM Central.