Upload and Manage Template Images
Manage and edit your branded images and logos
Company branding is an important part of doing business. Postsale lets you save your branded images, such as a company logo, so you can add them to invoices, packing slips, emails, and other templates you use in Postsale.
This article will show you how to upload images to Postsale. We will also look at how you can edit an image once it has been uploaded.
A Quick Note About Store Logos
Postsale's default templates automatically display the logo image you have associated with each of your store's settings so that each sales channel can be easily branded with a separate store logo.
This article shows you how to:
- Upload images in addition to the logos associated with your store settings
- Manage, edit, rename, and delete all images (including your store logos) uploaded to Postsale
Please see our Personalize Your Templates help article if you are looking to replace or edit the store logo that appears in your templates, like packing slips or invoices.
Before We Begin
- Uploading and managing template images is a premium feature requiring the Expand, Thrive, or Soar billing plan. Learn more about managing your Postsale account in our Frequently Asked Questions.
- Be sure that you can navigate to and select the images you wish to upload to Postsale.
- The image files should be 3 megabytes or less.
- Larger image files will be reduced to the maximum file size when uploaded.
- Supported file types: jpg, png
Upload an Image File
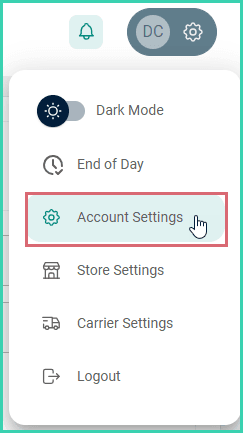
Go to Settings.

Select Account Settings.
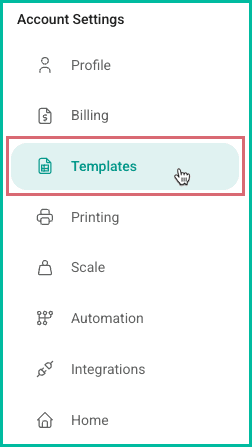
Select Templates.
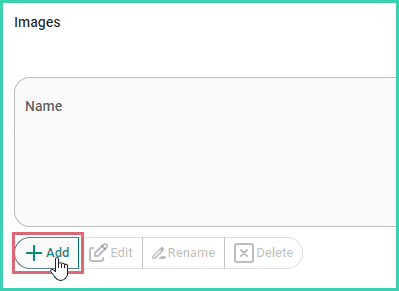
Click the Add+ button in the Images section.
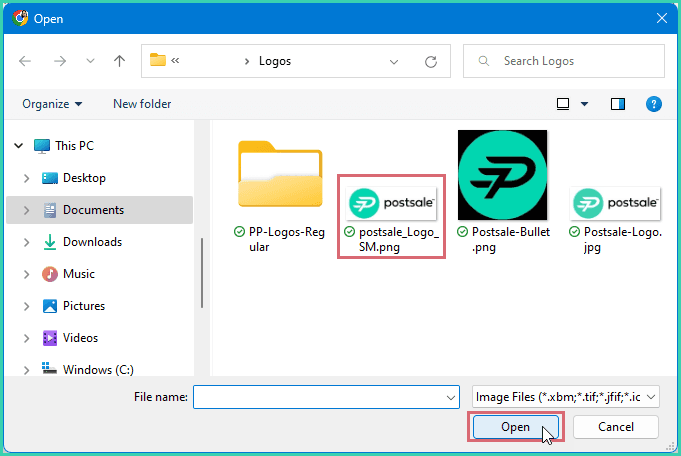
Navigate to and select the image file you wish to upload.
- Postsale supports JPEG and PNG files with a size of 3 MB or less.
- Postsale will reduce large image files to a maximum size of 3 MB.
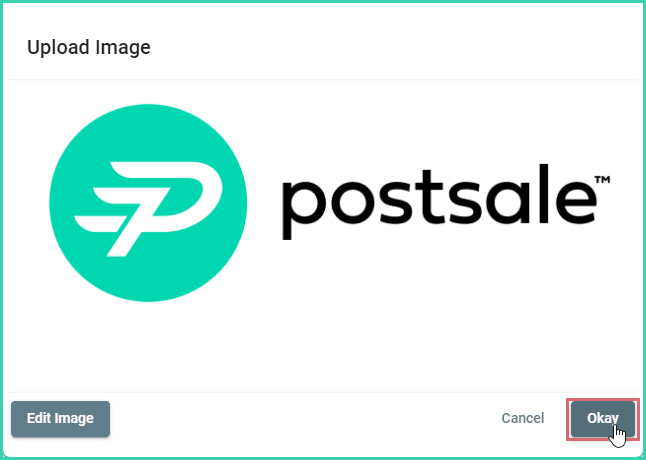
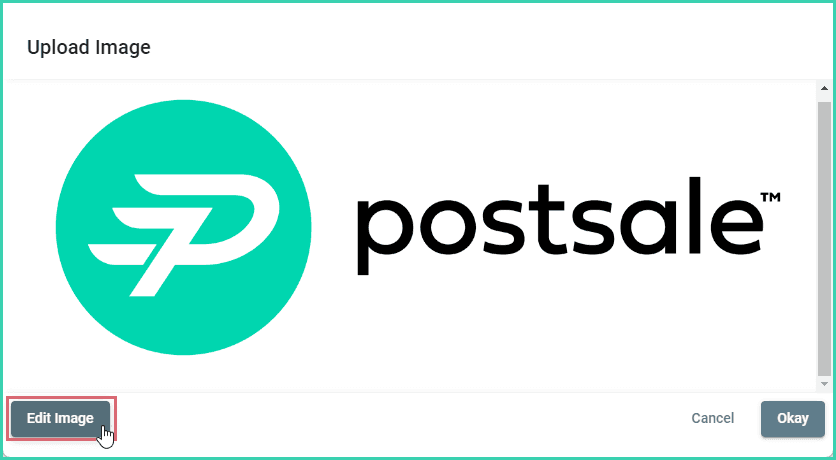
The image has been uploaded and is displayed in Postsale.
Click Okay.
Enter a name for the image. Then, click Save. The name must meet the following criteria to ensure that the image can be used in your templates:
a. Be alphanumeric (a-z, 0-9)
b. Can contain dashes and underscores (-, _)
c. Does not contain any special characters (!@#$%^&*, etc.)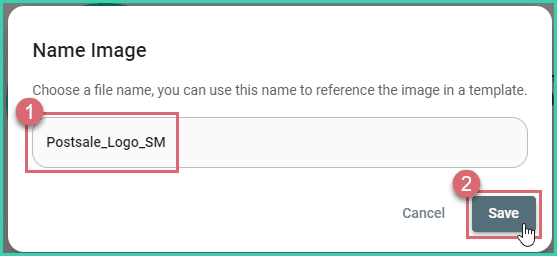
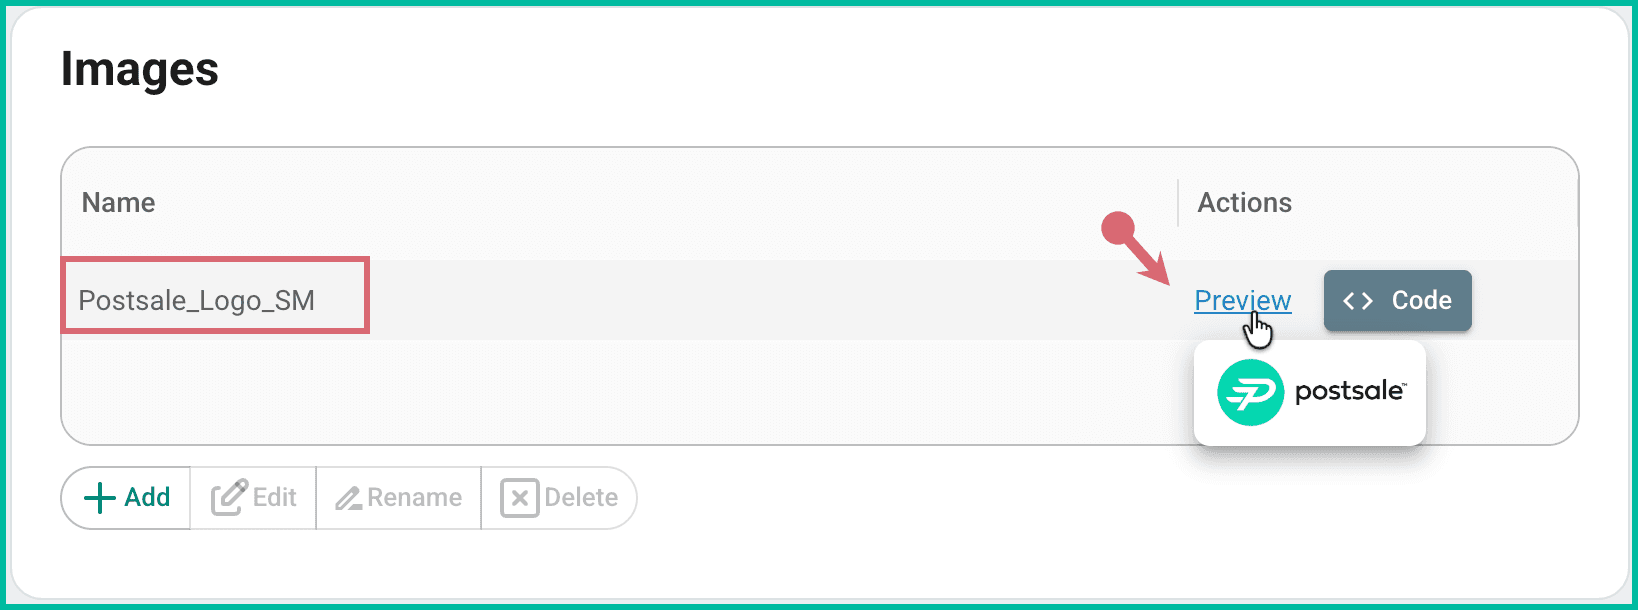
The image is now available in the Images section.
- Hover over the Preview link for any image to view a thumbnail.
- Click the Code button to generate code to reference the image in a template.
Sort Your Images by Name
Click the Name column to sort images alphabetically (ascending/descending). This can be useful when searching for an image in a large image list.
Edit an Image
Images uploaded to Postsale can be cropped, rotated, and resized. When you edit an image, the original format is retained, so you can revert to the original or edit it again if needed.
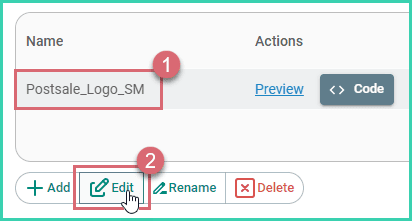
Select the image you wish to edit. Then, click the Edit button.
A preview of the image is loaded.
Click the Edit Image button.
The image editing tools are displayed.
Perform the following edits as needed:
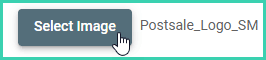
a. Swap the image: Click the Select Image button to select a different image file. The file you select will replace the current image.
b. Resize: Use the Zoom slider to resize the image.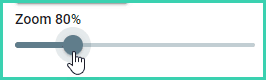
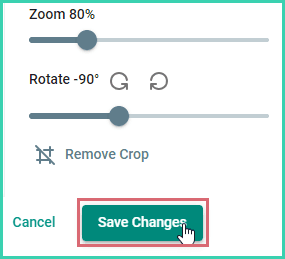
c. Rotate: Click the rotate icons to rotate the image 90 degrees clockwise or counterclockwise. Move the Rotate slider left or right to rotate the image incrementally.
d. Crop: Drag the crosshair icon over the area of the image you wish to crop. Then, fine tune your crop.
Click Remove Crop to revert back to the original, uncropped image.

Click the Save Changes button to save your edits.
Additional Options
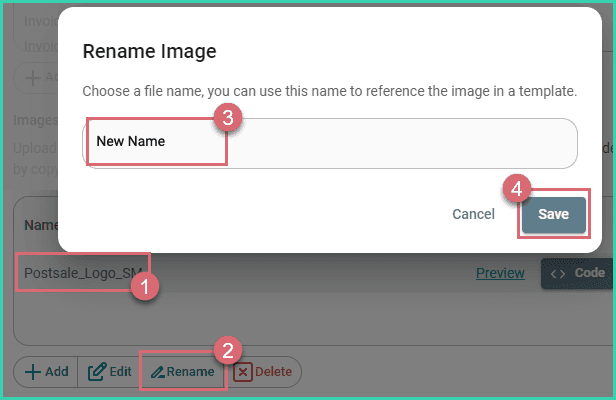
Rename an Image
Select the image you wish to rename.
Click the Rename button.
Enter a new name for the image.
Click Save.
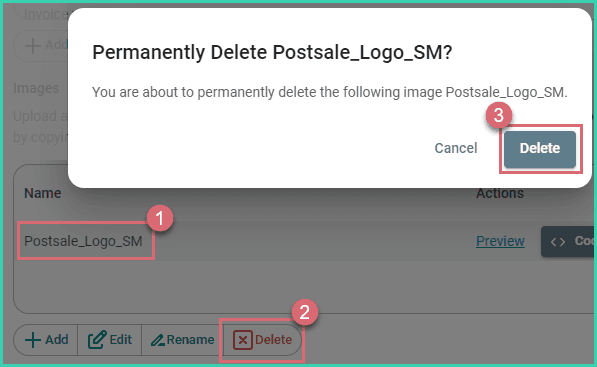
Delete an Image
If you delete an image added to a template, it will no longer be displayed. Before deleting an image, ensure it is not used in any templates.
Select the image.
Click the Delete button.
Click Delete to confirm that you wish to permanently delete the image file.
On this page
Related