BigCommerce
Connect BigCommerce to Postsale | Import Orders | Manage Post-purchase Tasks
Handle your BigCommerce post-purchase tasks like shipping, customer communication, and order management with Postsale's direct BigCommerce integration.
Real-World Example
We have a BigCommerce storefront and would like to connect Postsale so that we can import orders and manage our shipping and post-purchase tasks. We would like to import orders that have already been placed and have newly placed orders automatically import into Postsale.
Sometimes, a single order includes items that need to be shipped to different addresses. We need the ability to locate these multiple address orders and manage item-level shipping to separate locations.
You can do that! In addition, when you create a shipping label in Postsale, the shipment information is sent back to BigCommerce, and the order status is automatically updated.
This article will walk you through connecting your BigCommerce store to Postsale. Check out this help article for information on handling BigCommerce orders with multiple addresses.
Before We Begin
To connect your BigCommerce store, you'll need to complete a few steps in BigCommerce. This help article will walk you through:
- Locating the BigCommerce API Path
- Setting BigCommerce permissions and creating a BigCommerce Access Token
- Finishing the store setup in Postsale
Connect BigCommerce to Postsale
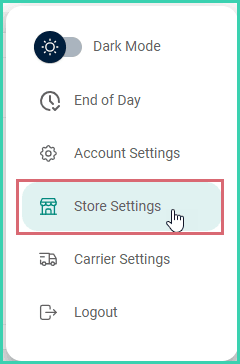
Go to Settings.

Select Store Settings.
Select BigCommerce.

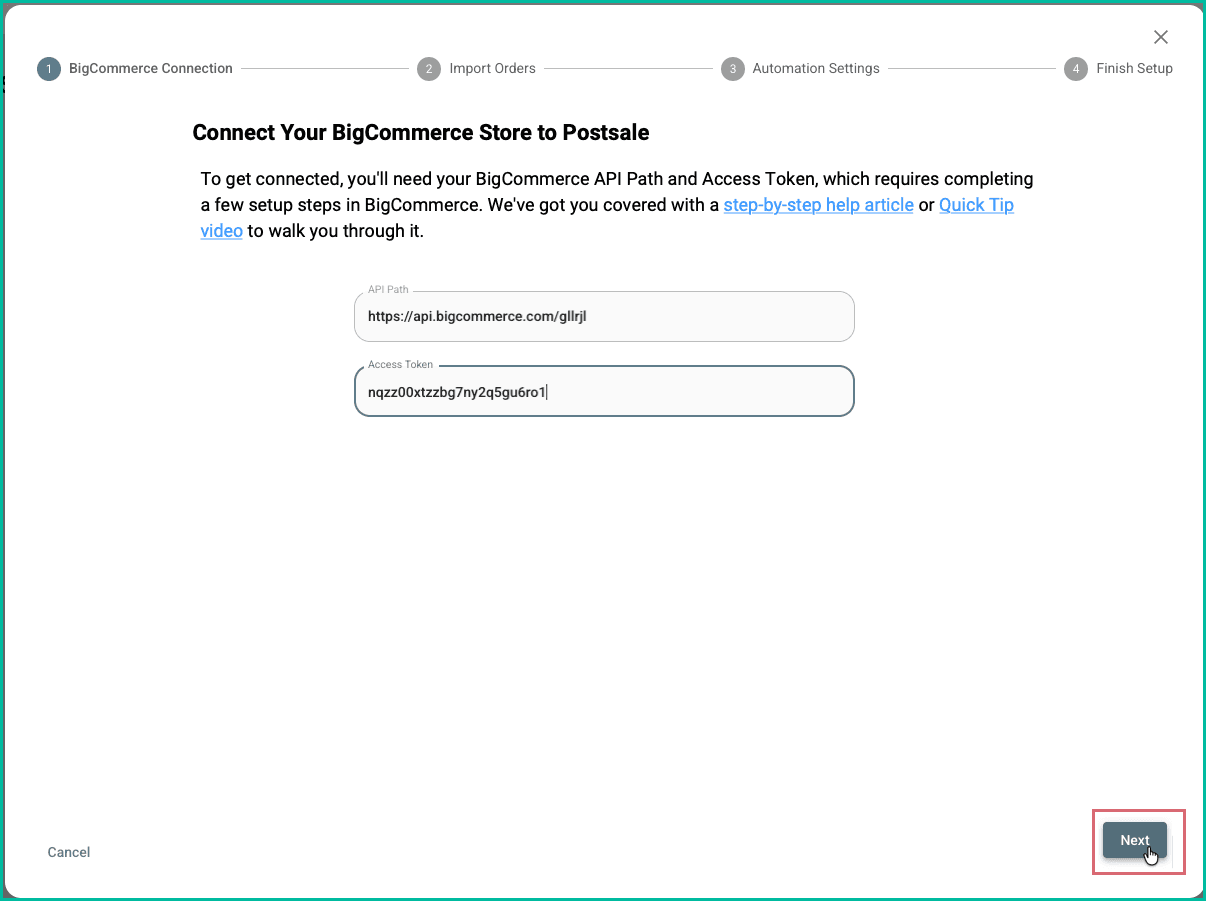
The BigCommerce setup screen will open.
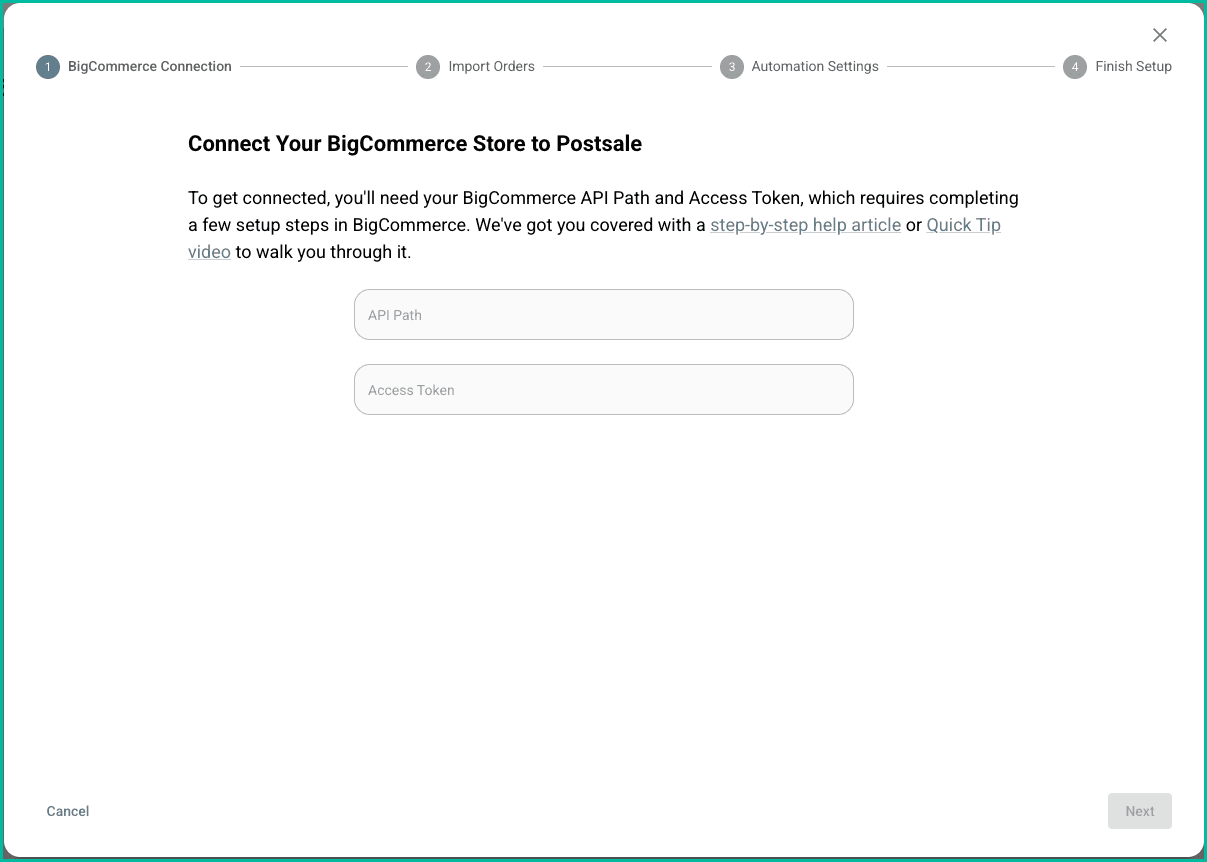
1 - Locate the BigCommerce API Path
You'll need to locate your BigCommerce store's API Path. Here's how:
Open a new web browser window and log in to your BigCommerce store's administration.
Select Settings in the BigCommerce left-side navigation.
Scroll down to the API section and select Store-level API accounts.
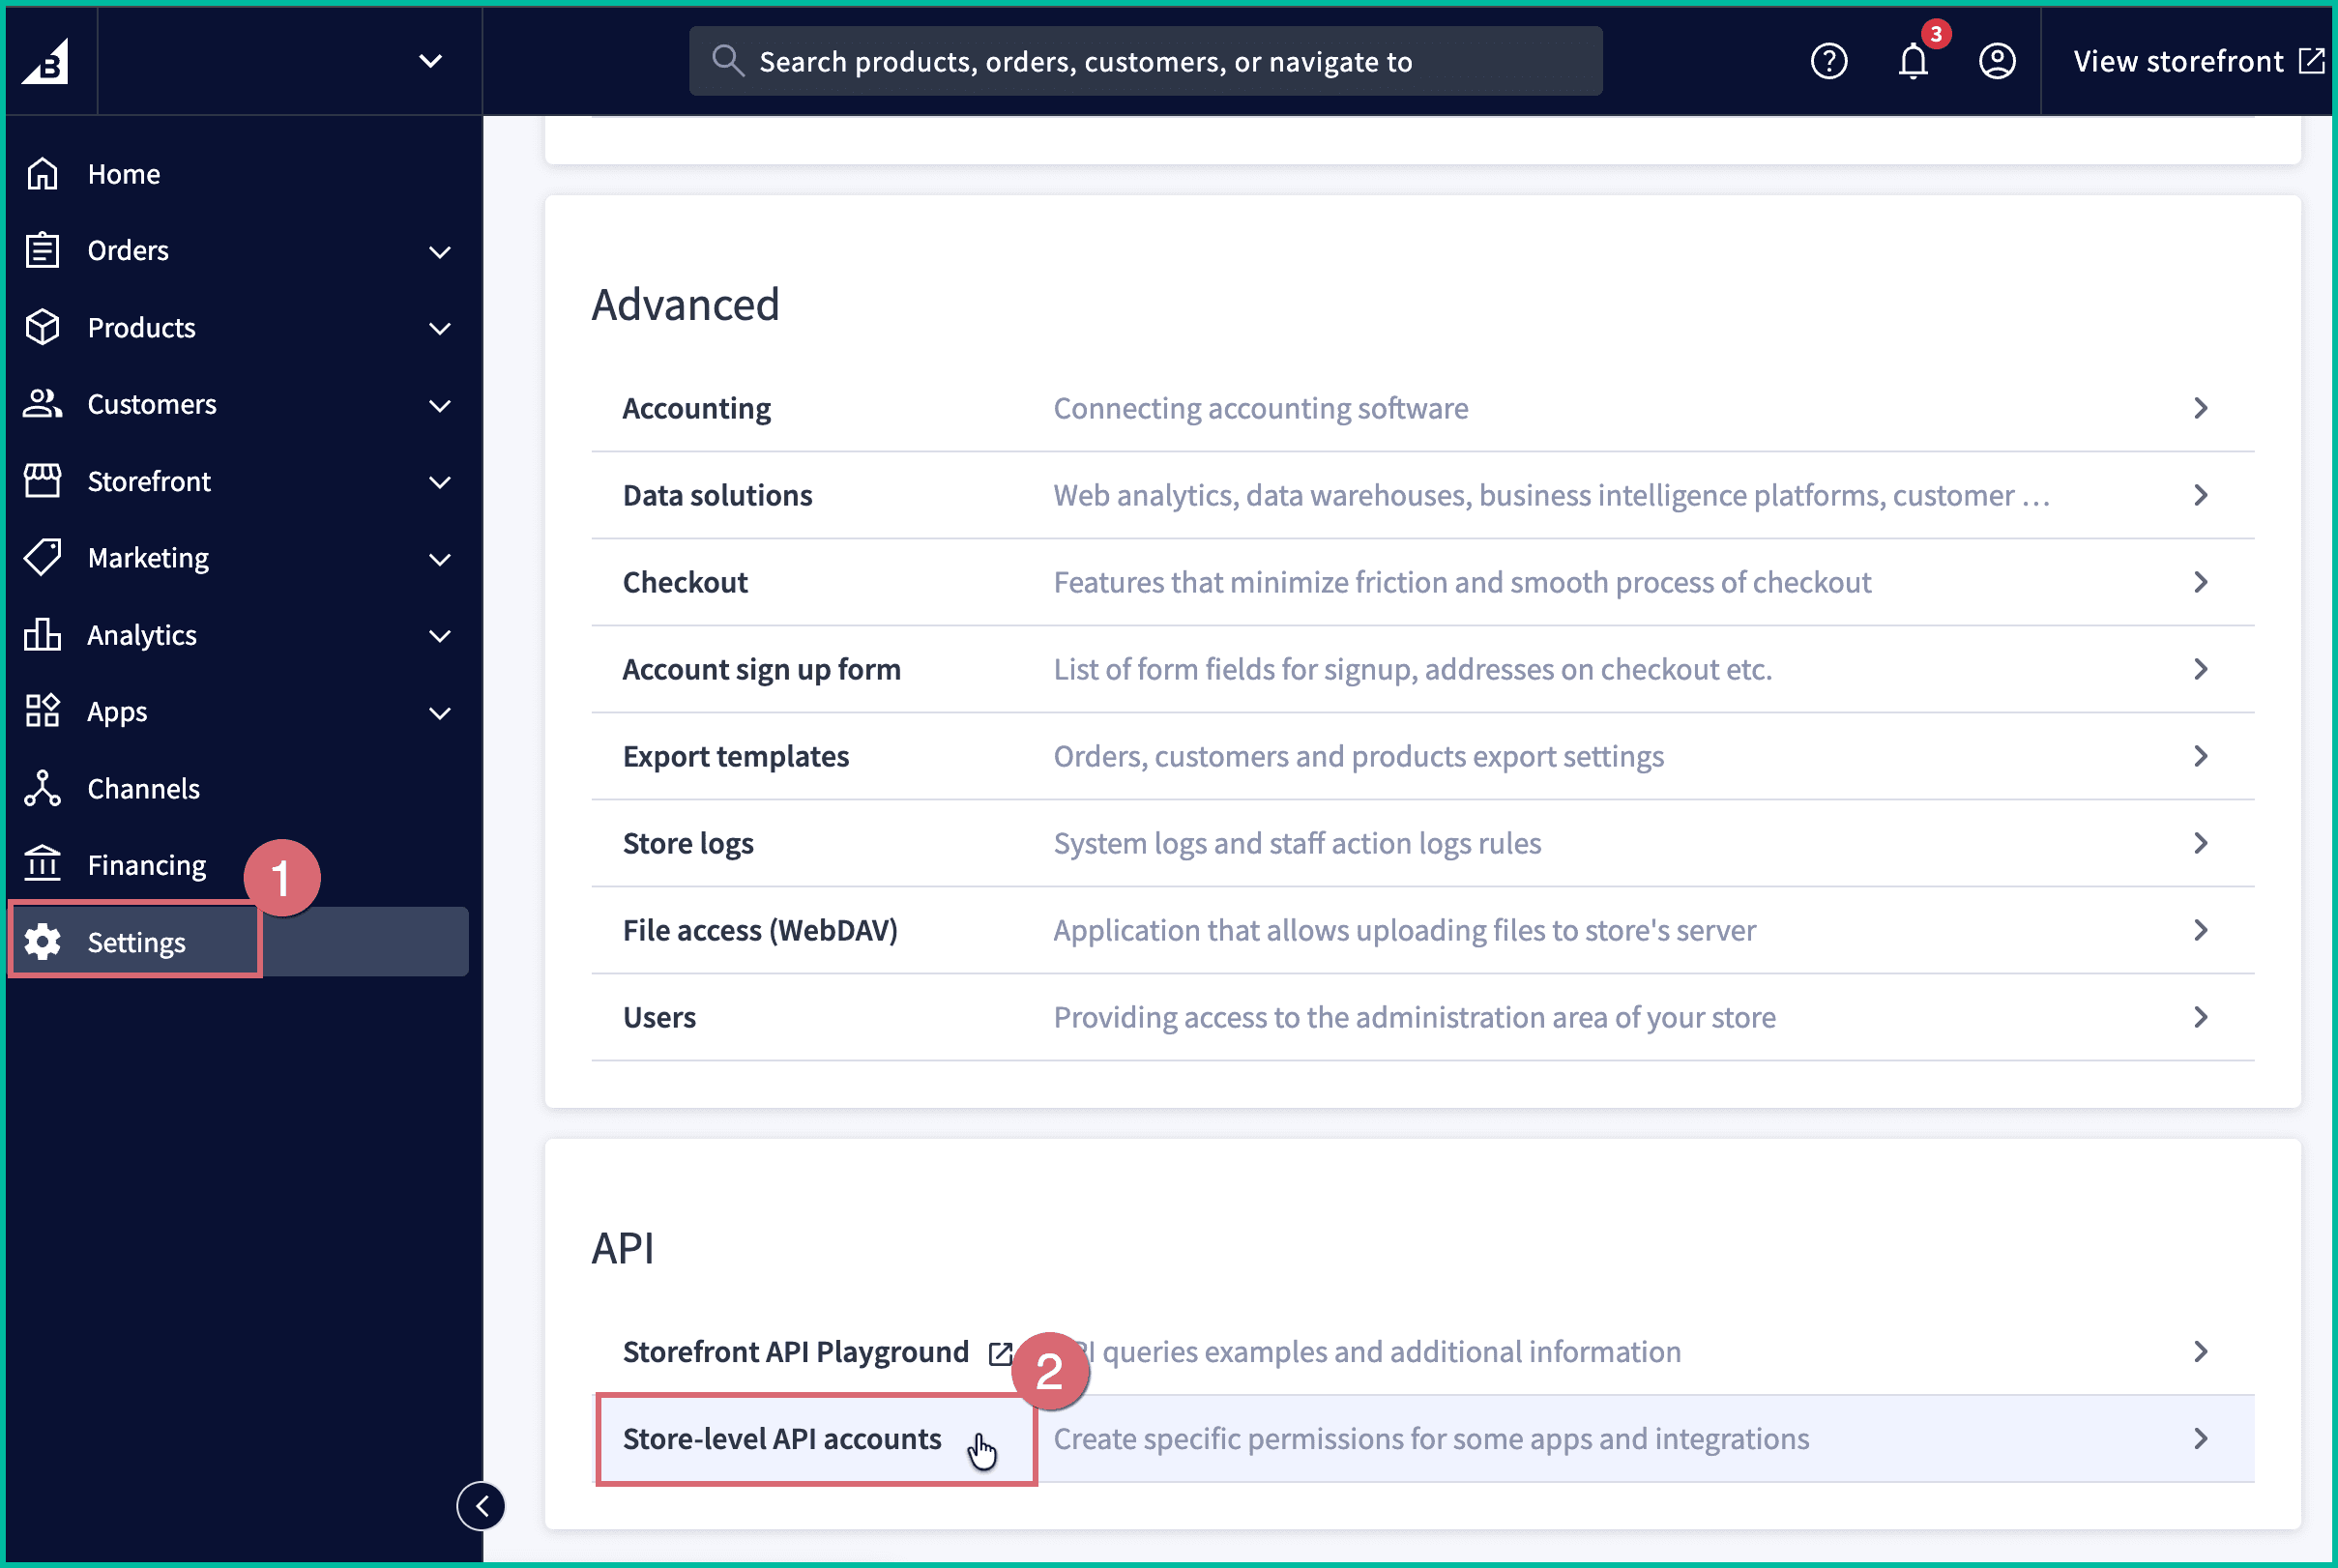
Click the Create API account button.

Copy the API Path in BigCommerce and paste it into the API Path field in Postsale.
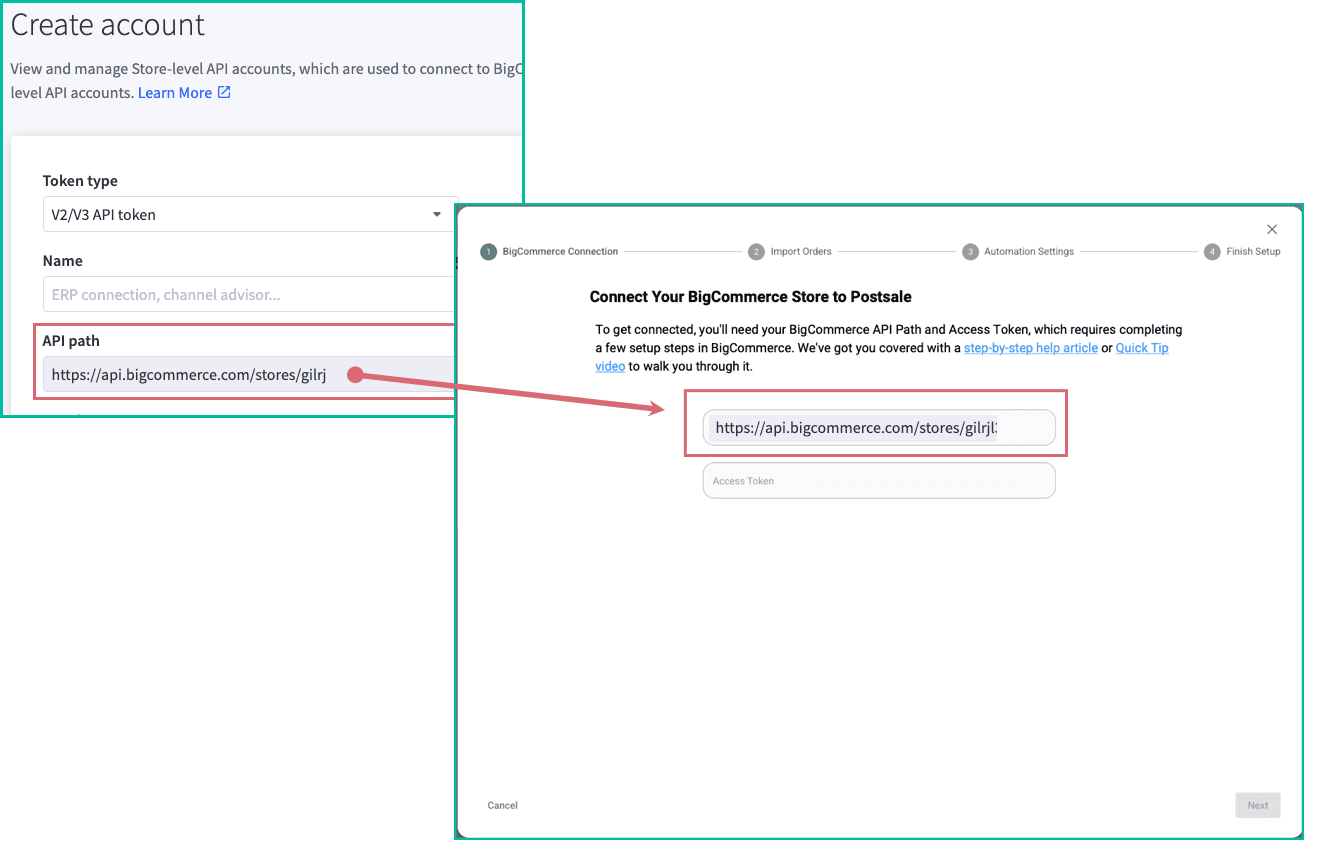
Next, you will create the API Token in BigCommerce.
2 - Set Permissions & Create the API Token
If you haven't already done so, switch back to BigCommerce.
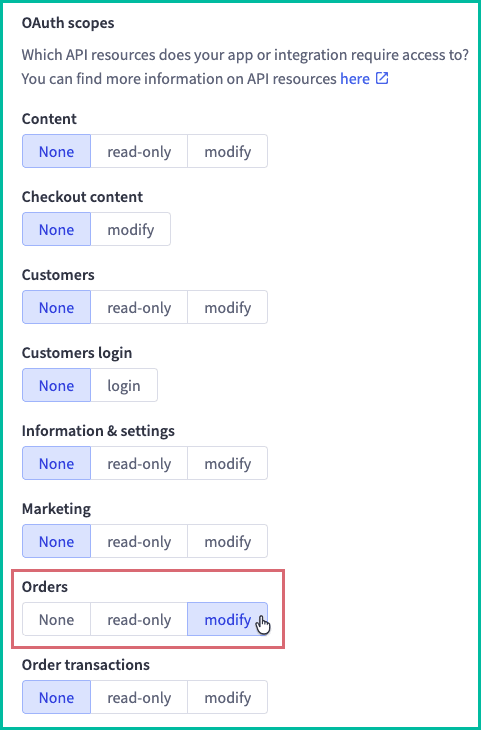
Scroll down on the Create Account screen and locate the Orders OAuth Scope. Change the permission from None to Modify.
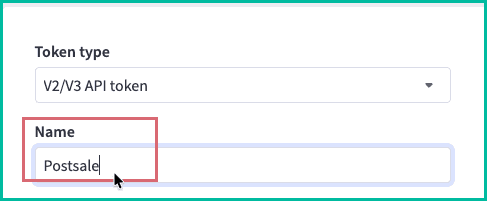
Give the account a name, like Postsale.
Click the Save button.

A new window will open, displaying additional information about your new application.
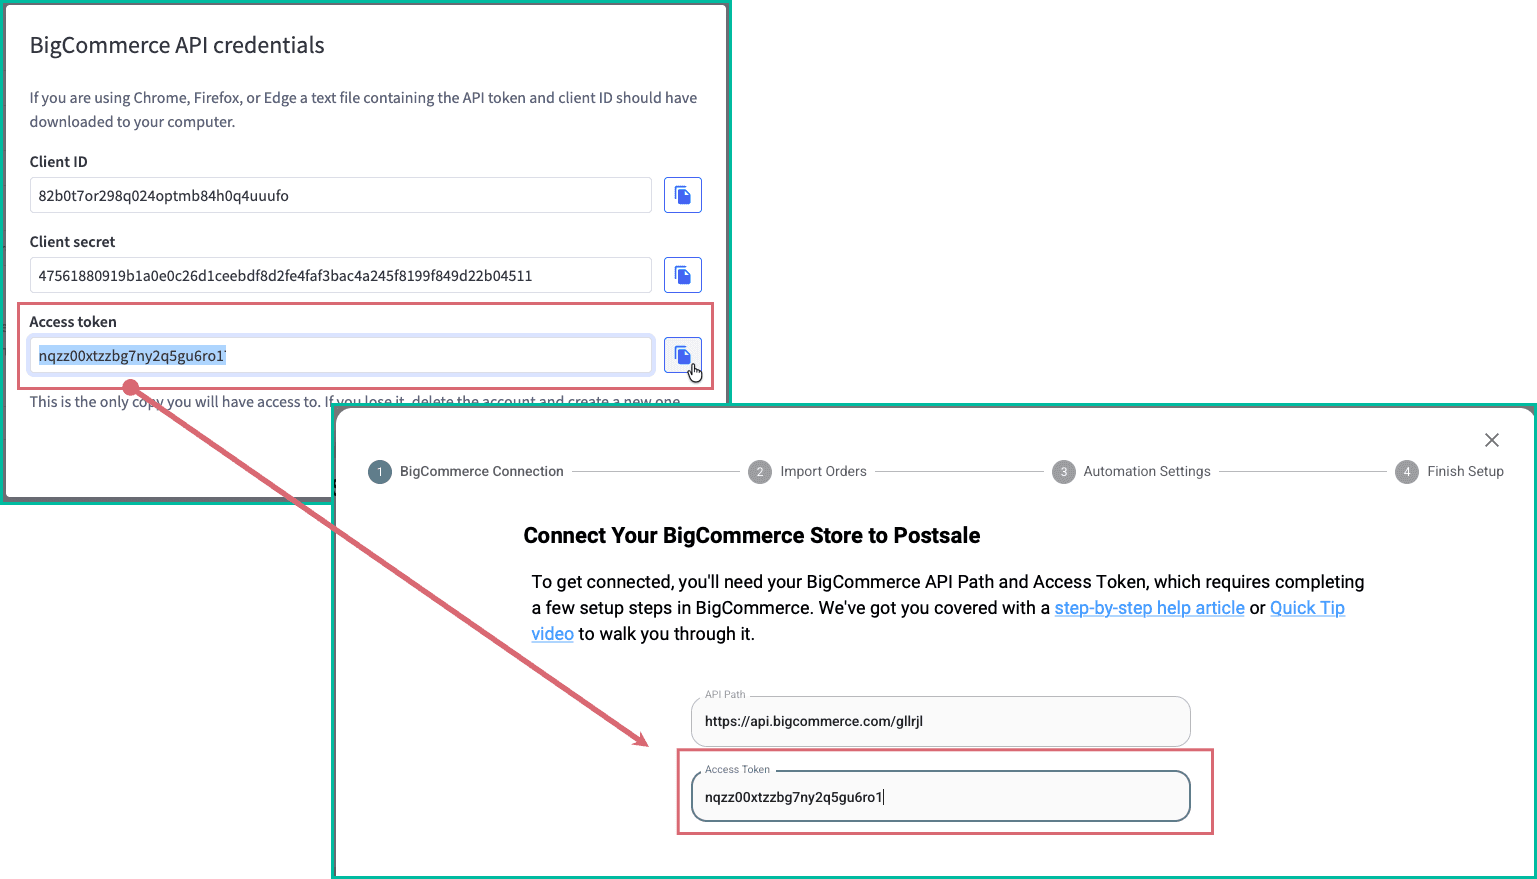
Copy the Access Token from BigCommerce and paste it into the API Token field in Postsale.
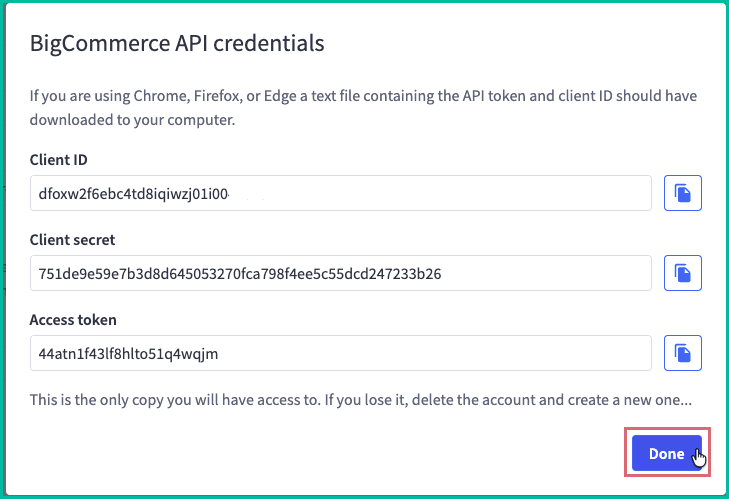
Click Done in BigCommerce.
That's all of the setup in BigCommerce. Next, you'll complete adding the store in Postsale.
3 - Complete the Setup in Postsale
Switch back to Postsale to finish adding your BigCommerce store.
Click the Next button on the BigCommerce Connection screen.
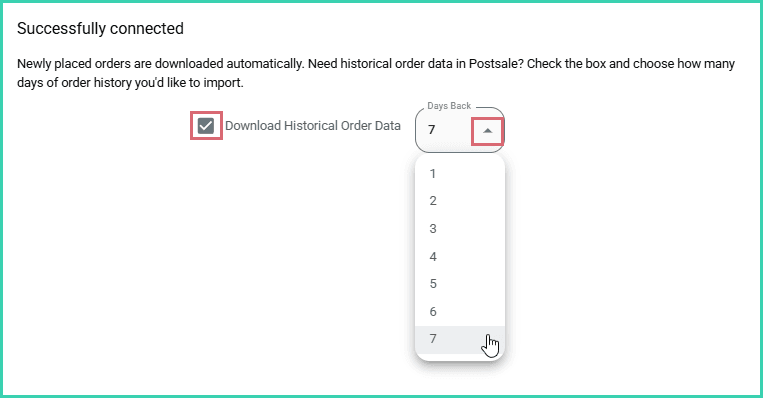
Select the number of days (1 - 7) of order history to import into Postsale from the Days Back drop-down menu. Then, click Next.
Uncheck the Download Historical Order Data checkbox if you do not wish to import any order history.
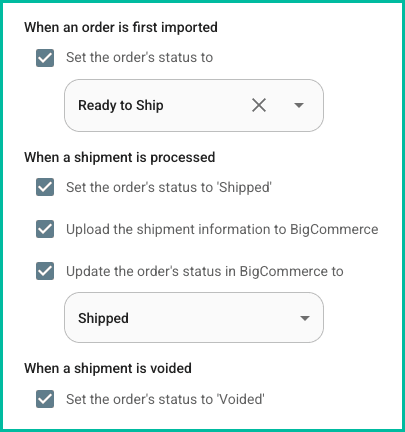
Verify that you wish for Postsale to perform the following actions automatically. Then, click Next.
- When an order is first imported
- Set the order's status to [select the status from the drop-down menu]
- Enable this option to specify what the local status of the order should be set to when orders are imported for the first time. With this option disabled, the order's local status will be blank when imported.
- Set the order's status to [select the status from the drop-down menu]
- When a shipment is processed
- Set the order's status to ‘Shipped’
- Upload the shipment information to BigCommerce
- Update the order's status in BigCommerce to [select the status from the drop-down menu]
- Enable this option when you want Postsale to set the order status in BigCommerce to a specific value.
- When a shipment is voided
- Set the order's status to ‘Voided’
- When an order is first imported
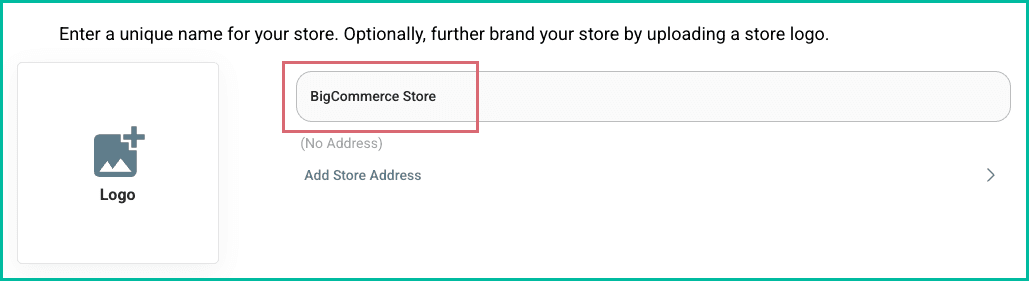
Enter the store name in the Store Name field.
- The store name you enter will be considered the Order Source in Postsale
- The store name will be displayed in the Source column on the Orders Grid
- Use the store name as the Order Source when creating Advanced Searches for orders associated with this store
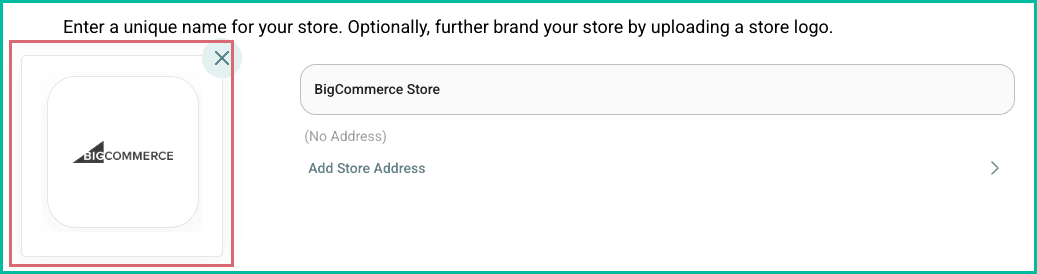
(Optional) Click the Logo tile. Then, select an image file (png or jpg) from your computer.
- Postsale supports JPEG and PNG files with a recommended size of 3 MB or less.
- Larger image files will be reduced to the maximum file size of 3 megabytes when uploaded.
- The image will be uploaded and become the logo for this store.
- The logo will automatically display in Postsale templates that include a logo, such as the Invoice with Logo template.
- Learn about editing an image in Postsale
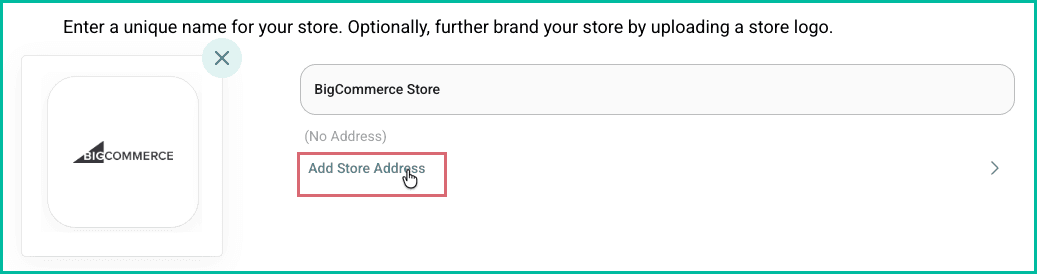
(Optional) Click Add Store Address to add a unique Ship From address from this store. Learn how to configure your Default Shipment settings so that the Store Address is automatically selected as the Ship From address for your shipments.
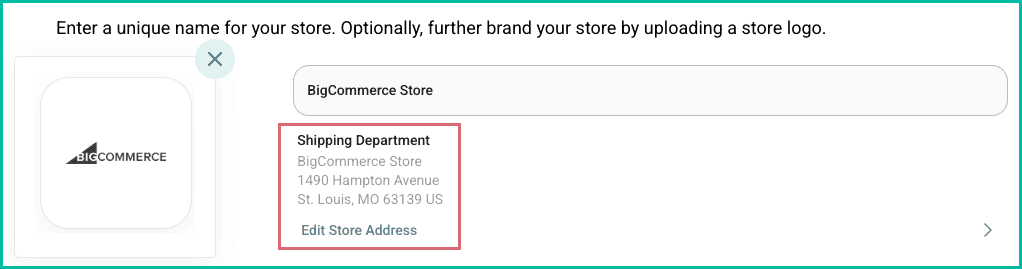
Once entered, the address is displayed.
Click Finish.
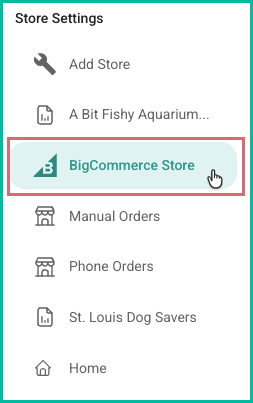
Your store is added and is displayed in the list of stores. Historical orders will be automatically imported into Postsale based on the number of days you selected.
Good To Know
Postsale supports BigCommerce orders with multiple Ship To addresses. Learn more about how Postsale imports multiple address orders, as well as how to locate and create labels for them in our BigCommerce Multiple Address Orders help article.
Still have a question? Ask a person.
Write to support@postsale.com or send us a message. We reply the same business day, Monday to Friday, 8 AM to 5 PM Central.