Introduction to the Dock
All about the Dock, Postsale's main work area when shipping your orders
Postsale’s Dock is your main work area when shipping your orders. The Dock lets you view and edit shipment details and create, print, and void shipping labels.
In this article, we will explore the Dock's available options and how to customize the Dock for your shipping workflow.
Ship Your Orders
Need information on how to ship your orders? Check out our help articles.
The Dock
Open the Dock
Click on the Dock button in the Order Actions menu to open and close the Dock.

Options in the Dock
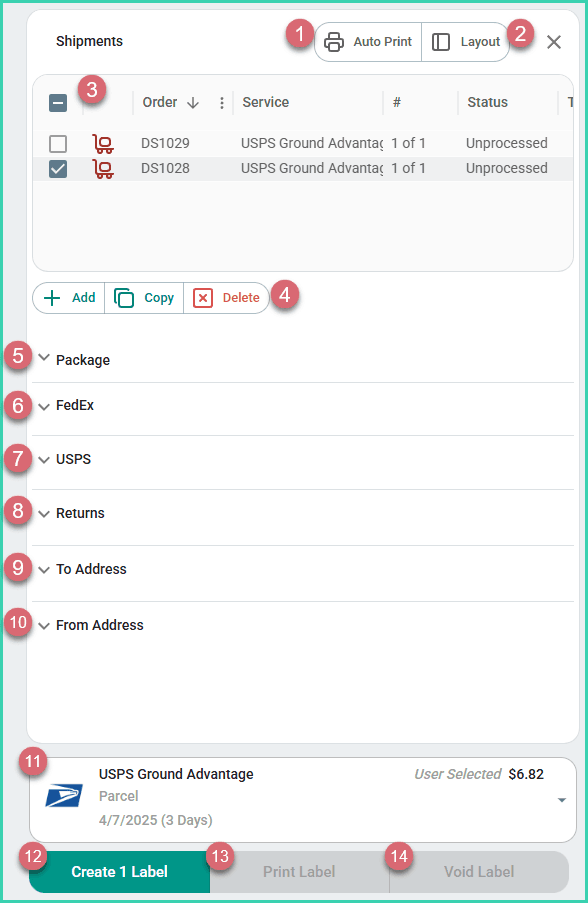
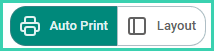
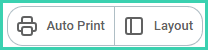
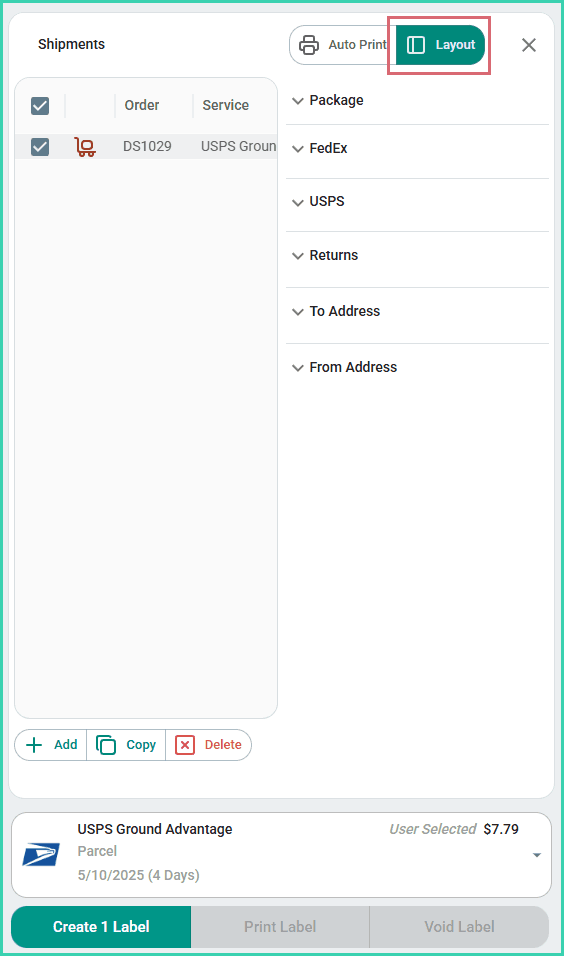
1 - Auto Print Button: Toggle on and off. When on, Postsale opens your web browser's print window so that the label(s) can be printed.
2 - Layout Button: Toggles the Dock between the vertical and horizontal layouts.
3 - Shipments Grid: Lists the shipments for the selected orders. Used to select the shipments you wish to edit, create labels for, void, etc.
4 - Add, Copy, and Delete Buttons: Used to add a new shipment or to copy or delete the currently selected shipments.
5 - Package Section: Expand to view and edit the package and carrier details (packaging, weight, dimensions, carrier, service, etc.) for the selected shipments.
6 - FedEx Section: Allows you to select additional FedEx-specific options related to your FedEx shipments (Saturday Delivery, Non-standard packaging, etc.).
7 - USPS Section: Allows you to select the USPS Processing Category (Machinable, Letters, Flats, Nonstandard).
8 - Returns Section: Used to configure a return shipment.
9 - To Address Section: Used to update the Ship To address for the selected shipment.
10 - From Address Section: Used to update the From Address for the selected shipment.
11 - Rate Selector: Displays the rate for the selected shipment. Click the selector to choose a different, available carrier and service.
12 - Create Label Button: Click to create shipping labels for the selected shipments.
13 - Print Label Button: Click to print/reprint the shipping label for the selected shipments.
14 - Void Button: Click to void the shipping label for the selected shipments.
Customize the Dock
Enable Auto Print
Use the Auto Print button to specify whether or not you wish for your shipping labels to be automatically opened in the web browser's print window as soon as they are created.
- Enabled: Labels will be sent to the print window automatically when created.
- Disabled: You will need to click the Print Label button to print shipping labels after creating them.
Change the Layout
Toggle between the vertical and horizontal Dock layouts with the Layout button. This can be useful when working on different platforms, such as a computer, tablet, or cell phone.
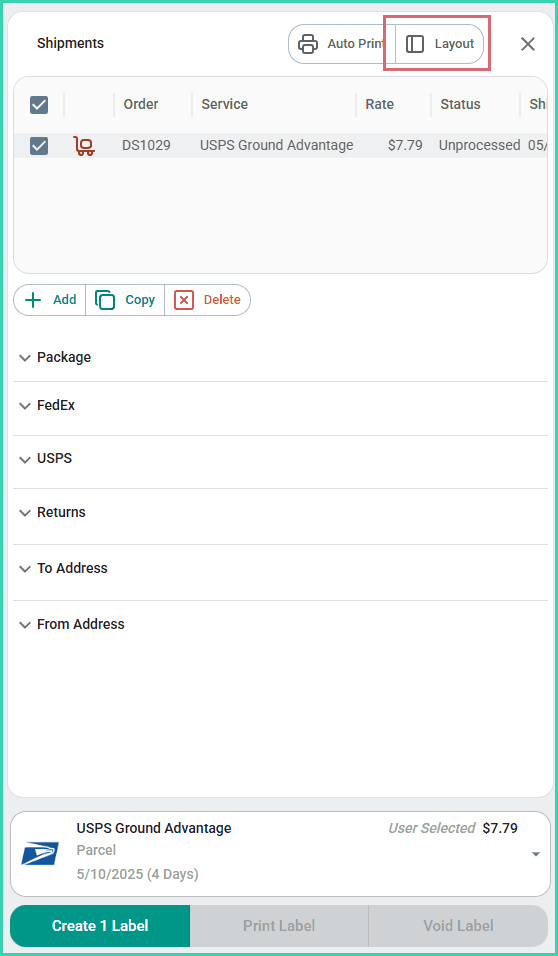
Vertical Layout
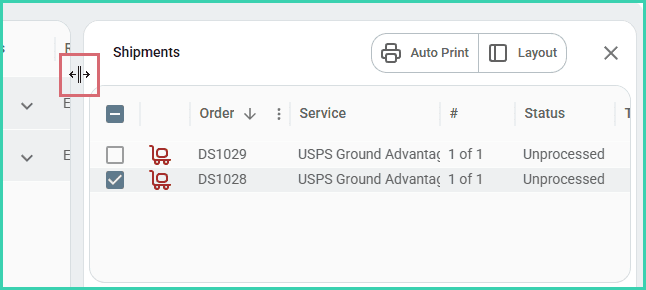
Horizontal Layout
Resize the Dock
Click and drag between the Dock and the Orders Grid to resize the Dock.
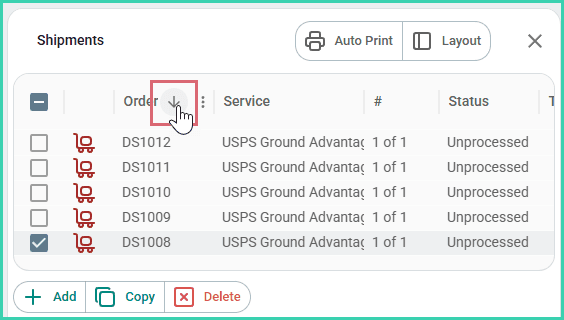
Sort the Shipments Grid
Sort shipments by any column in the Shipments Grid. Hover over the column and click the sort arrow. Click the sort arrow repeatedly to alternate between ascending and descending order.
Rearrange the Shipments Grid
Drag and drop the columns in the Shipments Grid into any order that works best for your workflow.

Manage Columns in the Shipments Grid
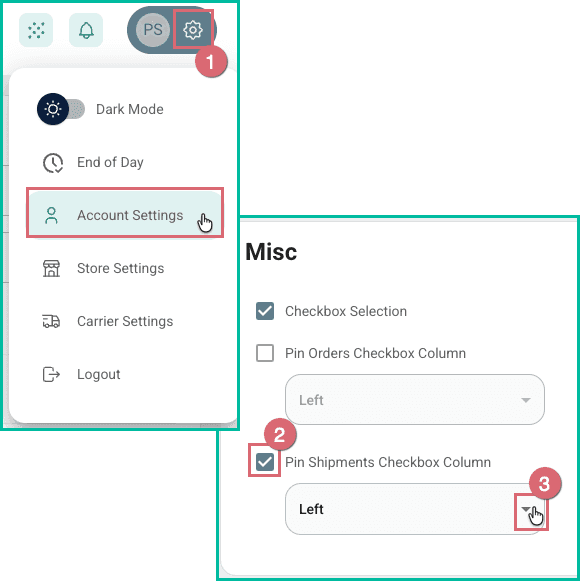
Pin the Shipments Checkboxes
Want to pin the shipments checkboxes to the left or right on the Shipments Grid? Here's how:
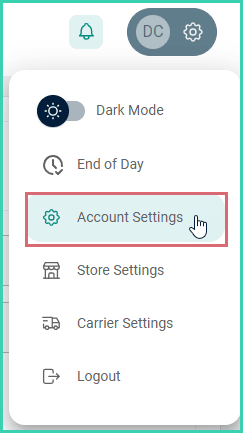
- Go to Settings and select Account Settings.
- Check the box for Pin Shipments Checkbox Column in the Misc section.
- Specify Left or Right in the drop-down menu.
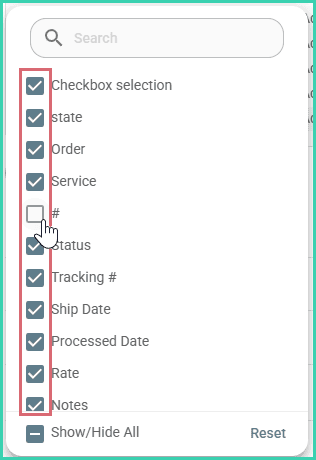
Add or remove columns in the Shipments Grid to display only the information that you need.
Hover over any column, click the kebab menu, and select Manage Columns.
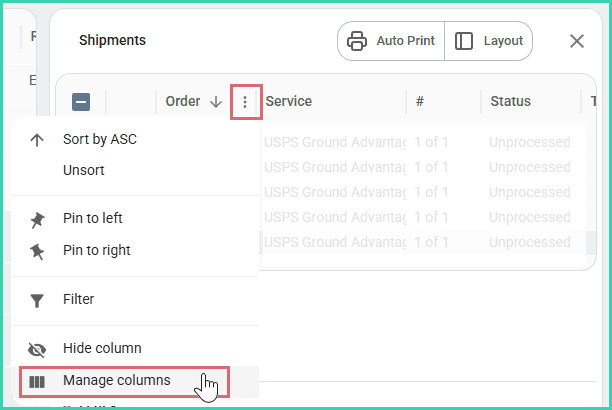
Toggle the column visibility on or off.
Download, Load, and Reset the Shipments Grid State
Save and download your current grid state so you can easily restore it later or load the same settings across multiple devices without manually reconfiguring the layout each time.
Go to Settings.
Select Account Settings.
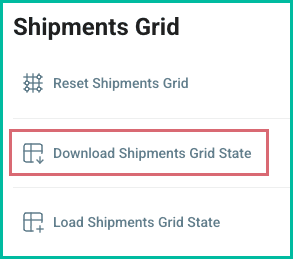
Download the Current Grid State
Click Download Shipments Grid State in the Shipments Grid section. A file containing your current grid settings and layout is automatically downloaded to your computer. The default filename is Shipments_Grid.json and is typically downloaded to the Downloads folder in your web browser.
Load a Grid Configuration
Click Load Shipments Grid State in the Shipments Grid section. Then navigate to the Shipments_Grid.json file you wish to load. Once selected, the grid state will be restored, and the Shipments Grid will be updated.

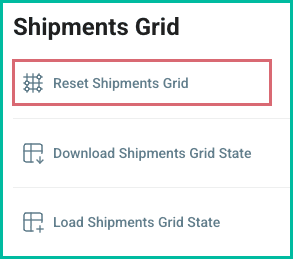
Reset Shipments Grid
Need to restore the Shipments Grid to its original, default layout? Here's how:
Click Reset Shipments Grid in the Shipments Grid section. Then, confirm your selection. The grid will be restored to the default layout.
On this page
Related